Connect Microsoft 365 in InLoox Self-Hosted
Configure Microsoft 365 integration with InLoox Self-Hosted by creating and configuring an Azure App registration. This enables features like Microsoft 365 login, SharePoint integration, and calendar synchronization.
This guide is only relevant for InLoox Self-Hosted. InLoox Cloud editions do not require Azure App creation.
InLoox Self-Hosted Server must be installed in at least version 11.3.3.
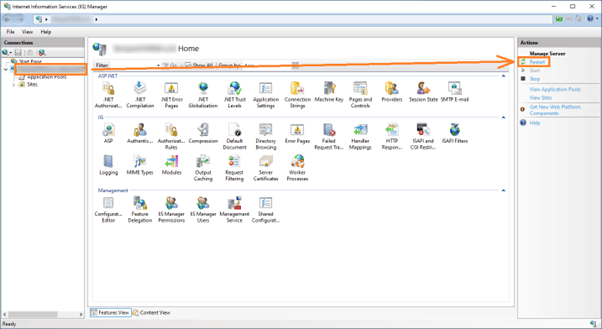
If you create the Azure App after the first installation of InLoox Self-Hosted, you need to reconfigure this setting in the configuration mode of the server setup. Start the server setup as administrator and choose Update configuration. Set the Azure app settings there. After reconfiguring, restart IIS.
Create Azure App Registration
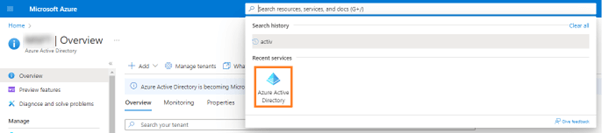
- Log in to your Azure portal.
- Go to the Azure Active Directory service.
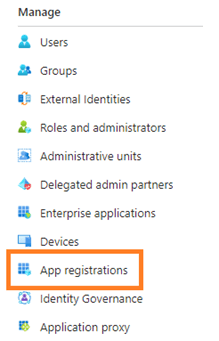
- In the side panel, go to App registrations.
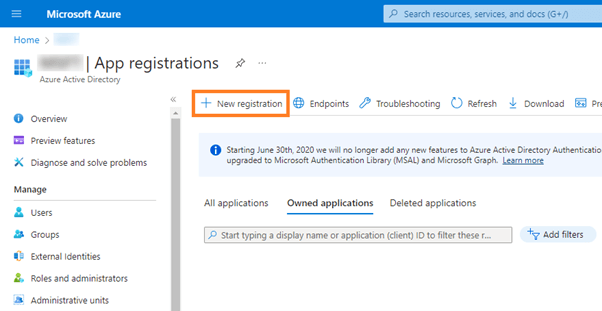
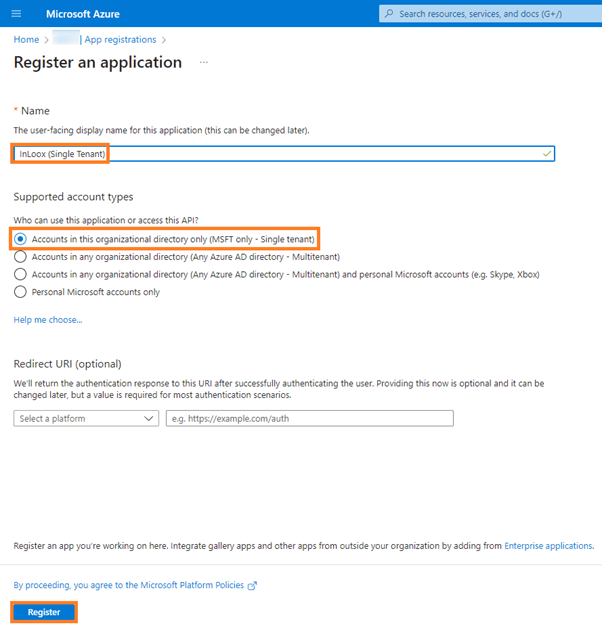
- Click + New registration.
- Choose a name for the application.
- Under Supported account types, select Accounts in this organizational directory only.
- Click Register.
All other account types are compatible but irrelevant for most scenarios and settings.
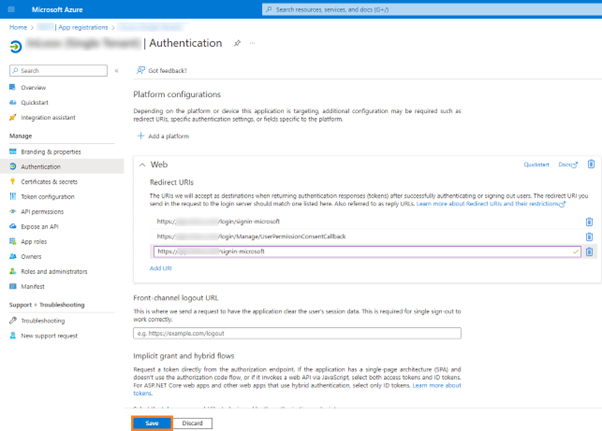
Configure Authentication
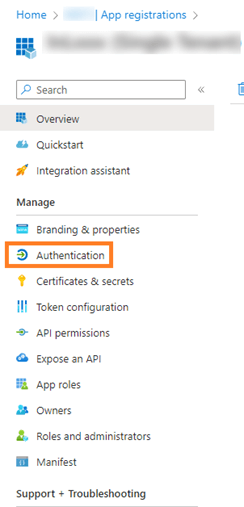
- Go to Authentication in the side panel.
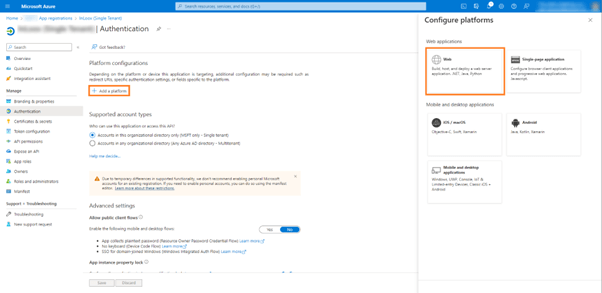
- Verify the Supported account types again and change if needed.
- Click + Add a platform.
- In the right side panel, select Web.
- Insert your InLoox App login link:
https://{YOUR INLOOX APP URL}/login/signin-microsoft
Replace {YOUR INLOOX APP URL} with the URL where your InLoox Self-Hosted server is accessible.
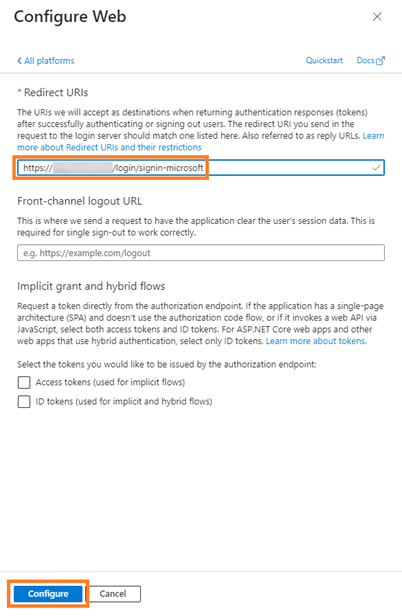
- Add the following additional redirect URLs, then click Save:
https://{YOUR INLOOX APP URL}/login/Manage/UserPermissionConsentCallbackhttps://{YOUR INLOOX APP URL}/signin-microsofthttps://{YOUR INLOOX APP URL}/login/Manage/AdminConsentCallback
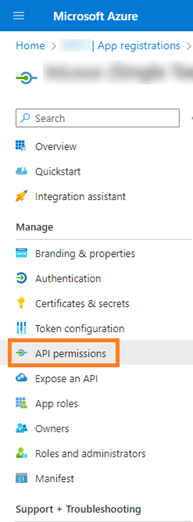
Configure API Permissions
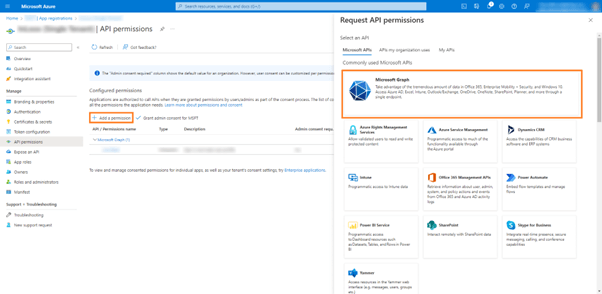
- Go to API permissions in the side panel.
- Click + Add a permission and choose Microsoft Graph.
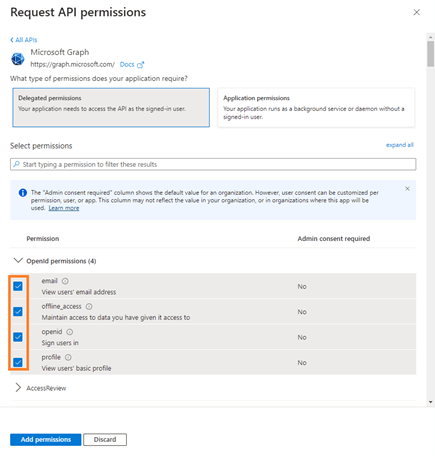
- Click Delegated permissions.
- Activate the following OpenId permissions, then click Add permissions:
- offline_access
- openid
- profile
- Add the following Delegated permissions:
- Files.ReadWrite.All
- Sites.ReadWrite.All
- Contacts.Read.Shared
- Calendars.Read
- Calendars.Read.Shared
- Calendars.ReadWrite
- Calendars.ReadWrite.Shared
- Mail.Read
- Sites.Manage.All
- Tasks.Read
- Group.Read.All
- Add the following Application permissions:
- Calendars.ReadBasic.All
- User.Read.All
Create Client Secret
- Go to Certificates & secrets in the side panel.
- Under Client secrets, click + New client secret.
- Enter a Description and select when the secret expires.
- Click Add.
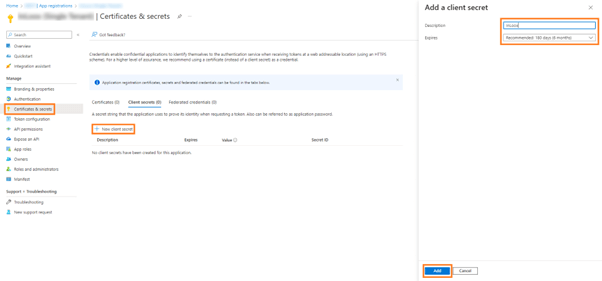

You must save the value and secret ID of this key immediately. This information will only be shown once on this page. If you do not save it, you must generate a new key.
Configure InLoox Setup
- Enter the previously saved information in the InLoox Self-Hosted setup:

The setup requires:
- Tenant ID (Directory ID)
- Client ID (Application ID)
- Client Secret (the value you saved earlier)
Connect Microsoft Account in InLoox
- Log in to your InLoox account.
- Go to My Profile.
- Go to Settings.
- Scroll to the bottom of the page.
- Click Connect Microsoft Account.

Your Azure App is now connected to InLoox.
Use Microsoft Account for Login
- You can now log in to InLoox using your Microsoft account.

After successful configuration, users can:
- Log in with their Microsoft 365 credentials
- Access SharePoint documents from InLoox
- Synchronize Outlook calendars
- Use Microsoft 365 integrations