Server Installation Guide
This guide walks you through the complete installation of the InLoox Self-Hosted Server, including database setup, SSL configuration, SMTP settings, and optional Microsoft 365 integration.
Before starting the installation, ensure your server meets all system requirements. In particular, install all required IIS roles and features, the ASP.NET 10 Hosting Bundle, and have a Microsoft SQL Server instance (2016 or later) ready.
If you previously used InLoox 10, note that installing InLoox 12 migrates the database to a new schema and automatically upgrades to version 12. This process cannot be reversed. Always create a full backup of your database before proceeding.
Upgrade from InLoox 12.5.0 and Older
A direct upgrade to the current version is only supported from version 12.5.1 or later. If you are running version 12.5.0 or older, you must first update to version 12.5.1 before upgrading to a newer release.
Run the Installer
-
Run the file InLoox_SelfHosted_Server_26xx.exe.
-
For a new installation, select New InLoox Self-Hosted Installation and accept the license terms. Click Next.
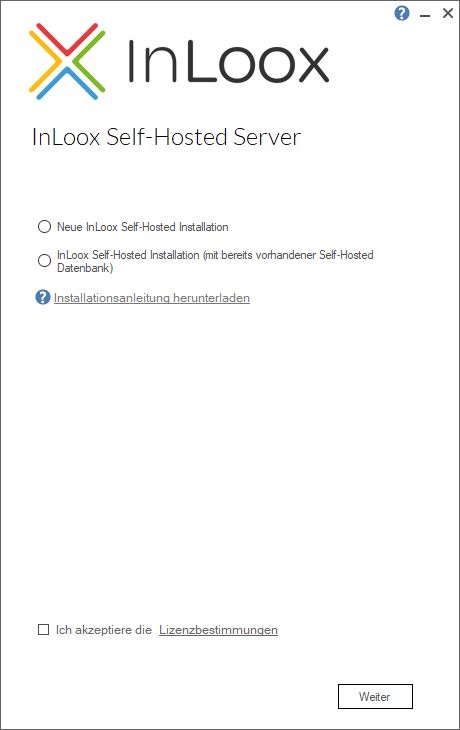
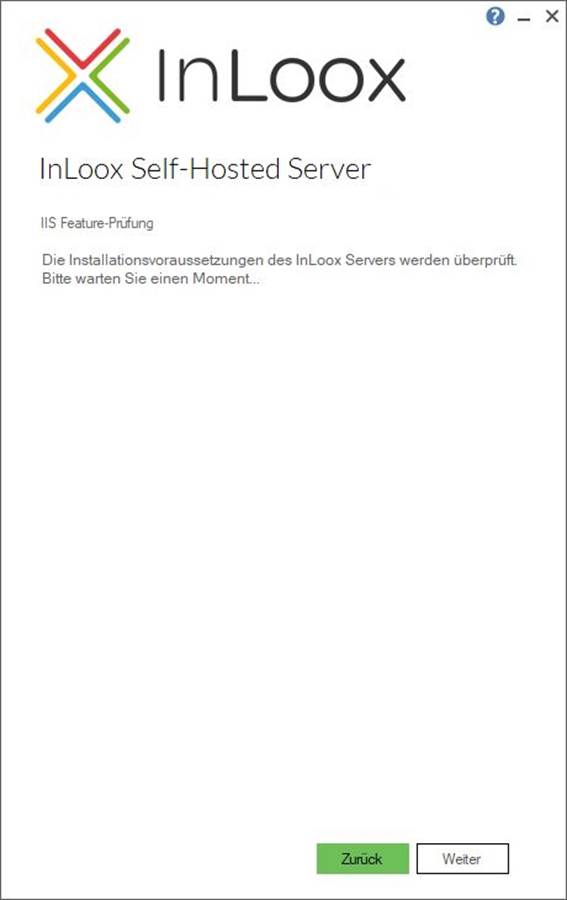
- If a User Account Control dialog appears, click Yes. The setup checks whether all required IIS features and roles are installed. If any are missing, install them first (see system requirements).
Configure the Public Endpoint
- Enter the public endpoint URL for InLoox. This is the address under which InLoox will be accessible in your organization. Select the port and the corresponding SSL certificate for TLS encryption.
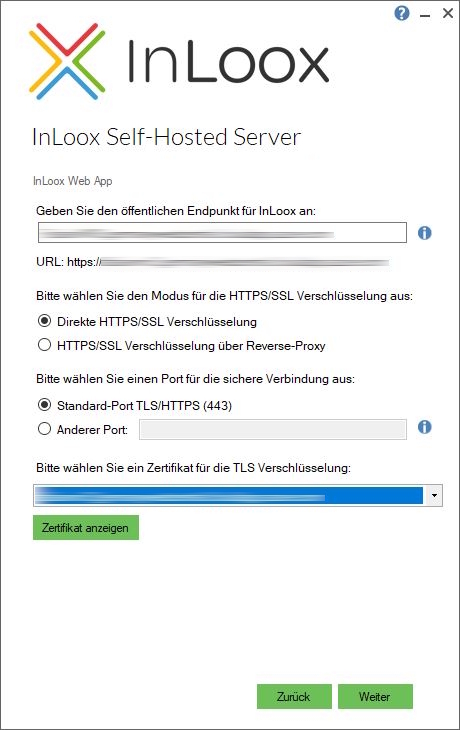
If the selected certificate is not valid, an error message appears and the setup cannot continue. Ensure the certificate meets the following criteria:
- Validity: The certificate must be within its validity period.
- Trusted Certificate Authority (CA): The certificate must be issued by a CA trusted by the operating system of the Self-Hosted Server and the browsers of the users.
- Correct configuration: The certificate must be properly installed on the web server.
- Hostname match: The hostname in the certificate (e.g., www.example.com) must match the hostname entered during installation.

A publicly signed certificate is not required. What matters is that the certificate is recognized as valid by the server and all clients. The URL and the SSL certificate can also be changed later using the Installer Configuration Mode.
Configure the Database
-
Enter the SQL Server name and the database name for your InLoox database. The database name is automatically used as a prefix for the separate databases.
Example: Database name (prefix):
inloox_companynamecreates:inloox_companyname_Accountsinloox_companyname_ProjectSpace
-
Enter your SQL login credentials.
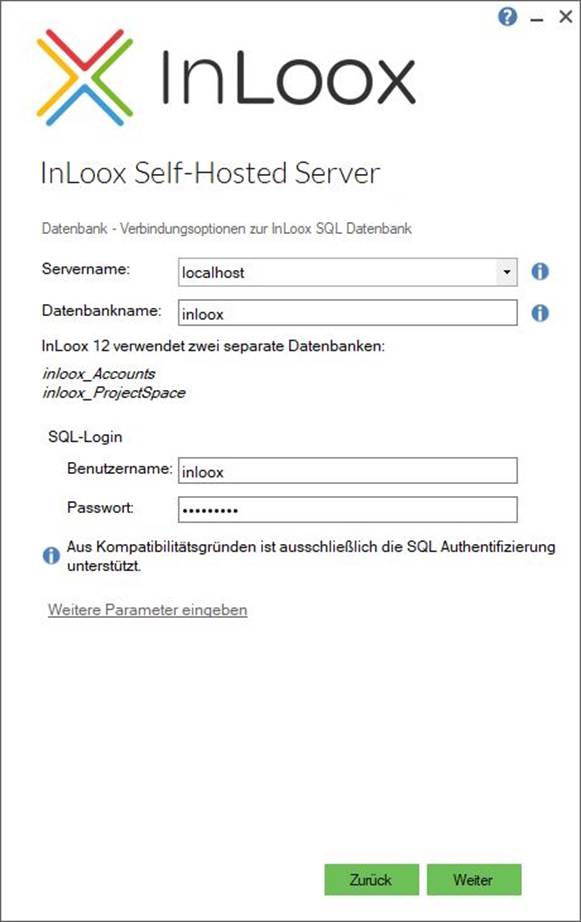
InLoox 12 only supports SQL authentication — Windows authentication is not supported. During installation, the SQL user requires the roles dbcreator and securityadmin (or alternatively sysadmin). These roles can be removed after the installation is complete.
Click Next. The installer verifies the provided credentials and checks whether the server is reachable. This process may take a few minutes.
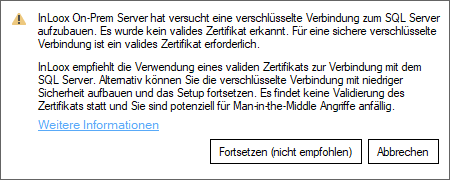
If the certificate is not suitable for an encrypted connection to the SQL Server, a warning appears. Microsoft recommends using only encrypted SQL connections. For compatibility, InLoox allows connections without certificate validation. InLoox recommends clicking Cancel and configuring a valid certificate on the SQL Server before continuing. For detailed information, see the Microsoft documentation on SQL Server encryption.
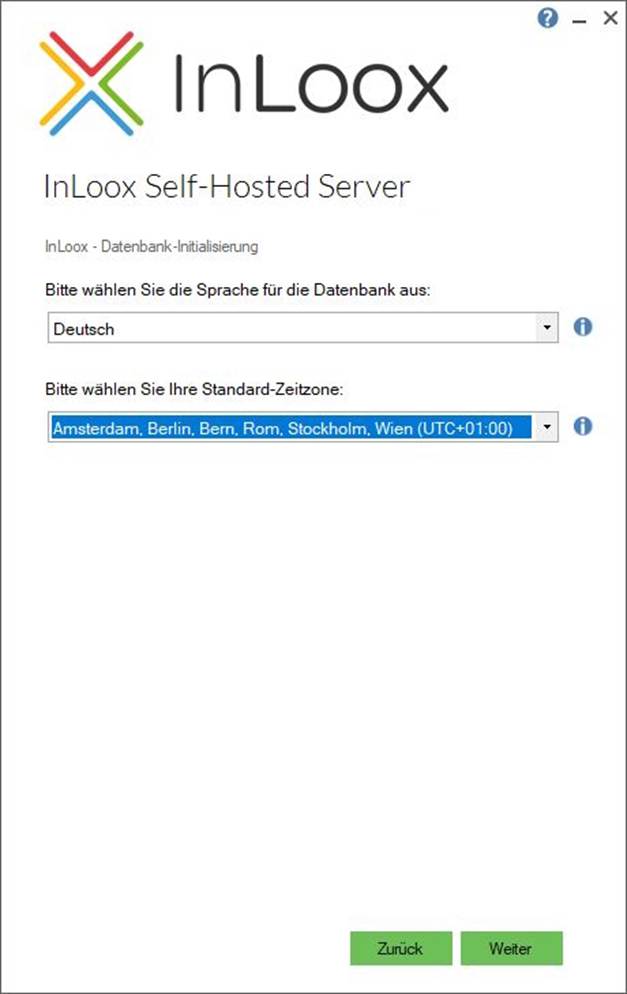
Set Language and Time Zone
- Select the desired language for the database from the first dropdown menu (e.g., English). Then select the appropriate default time zone for your region from the second dropdown menu (e.g., UTC+01:00, Amsterdam, Berlin, Bern, Rome, Stockholm, Vienna).
Configure the SMTP Server
- Enter the details of your SMTP server. InLoox uses it to send automated emails such as invitations and notifications. Click Send to send a test email. If the test is successful, you receive a confirmation and a test email at the specified address. Click Next.
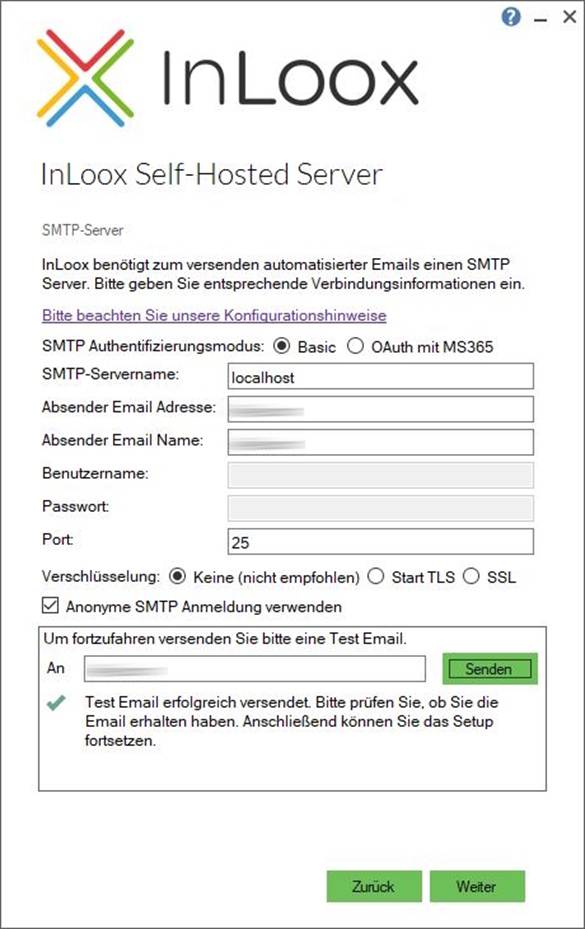
For OAuth-based email delivery with Microsoft 365 Exchange Online, see Configure OAuth Login for SMTP with Exchange Online.
Configure Microsoft 365 Single Sign-On (Optional)
- If desired, configure InLoox to use Microsoft 365 via Single Sign-On. This requires an Azure App registration. The Azure App is also required if you want to use Microsoft SharePoint Online as the document storage (see next step). This step is optional. Click Next.
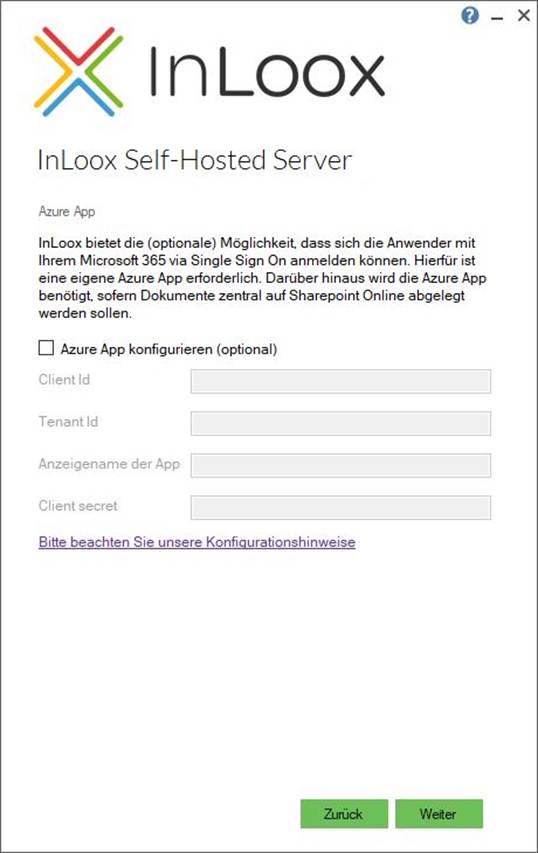
For detailed instructions on setting up the Azure App registration, see Integrate Microsoft 365 with InLoox Self-Hosted.
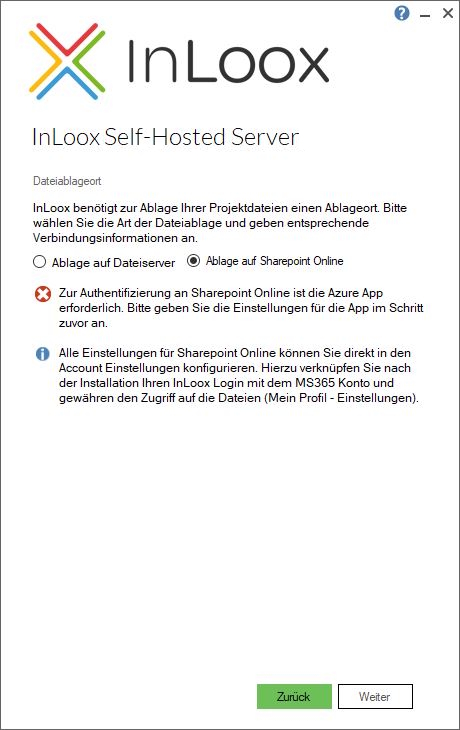
Configure Document Storage
- Select the storage location for your documents and enter the corresponding details. You can choose between a file server and SharePoint Online. SharePoint Online is only available if an Azure App was configured in the previous step.
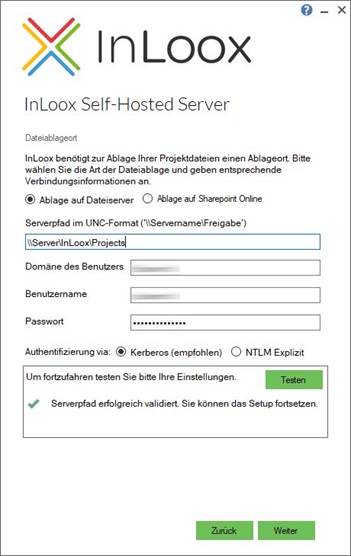
Click Test. Once the server path is validated successfully, click Next.
Configure Proxy Settings (Optional)
- InLoox requires internet access to retrieve license information and notifications about new versions. If your environment only allows internet access through a proxy server, enter the proxy details in this step. A system-level proxy is not sufficient. Test the connection before continuing.
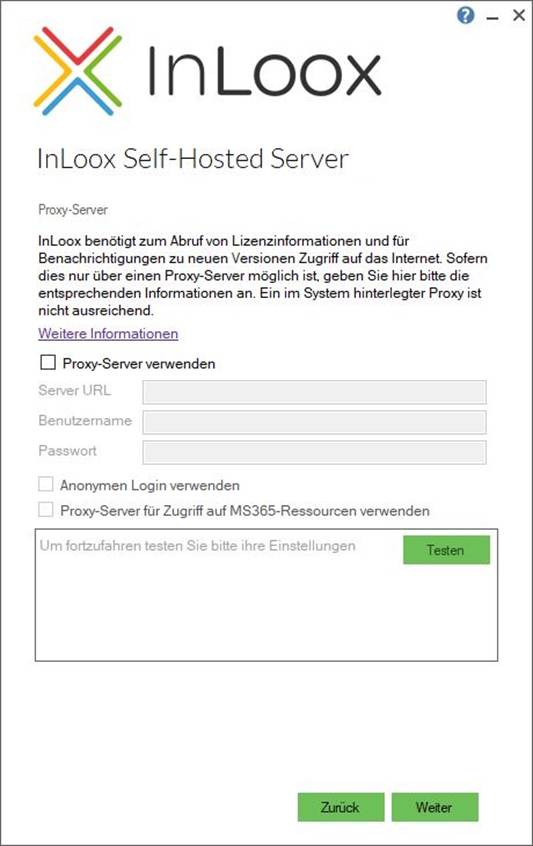
For detailed instructions, see Configure Proxy Server for InLoox Self-Hosted.
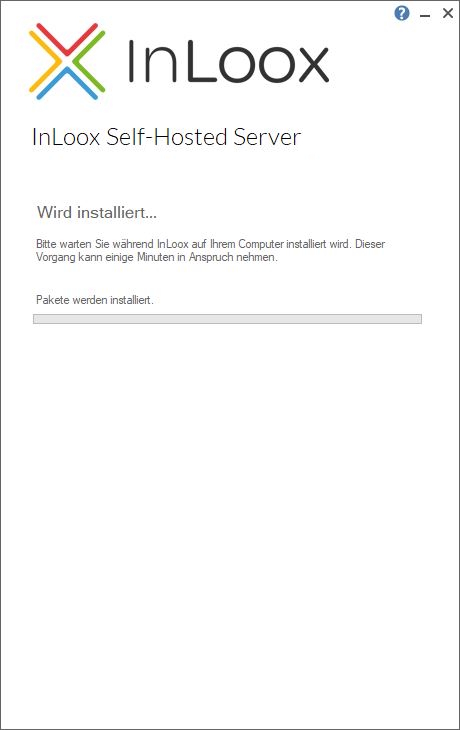
Complete the Installation
- The databases are now created and initialized. If a User Account Control dialog appears, click Yes.
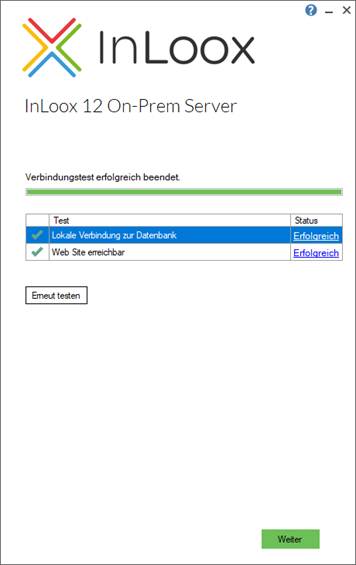
- After the installation, an automated test of the database and the configured website is performed. Click Next.
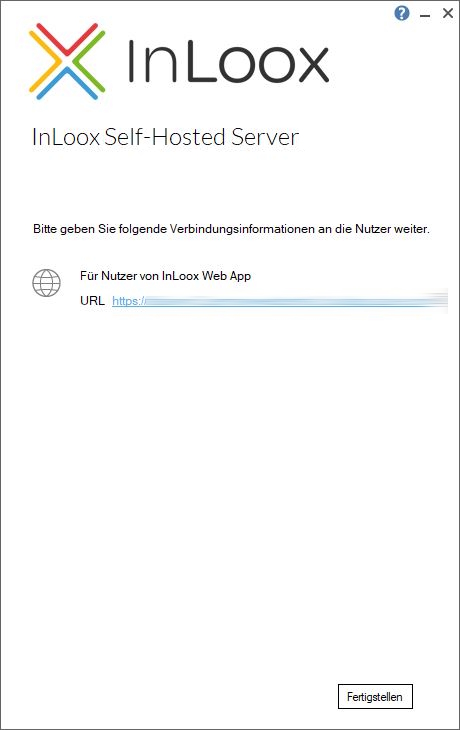
- Click Finish to complete the installation.
Create the Administrator Account
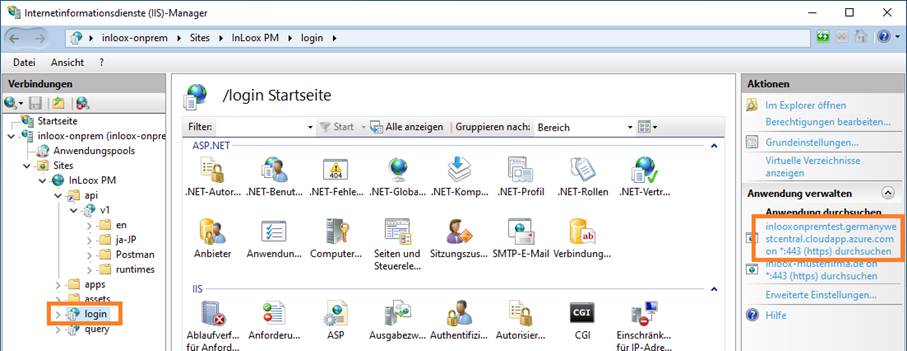
- Open InLoox using the URL you defined in step 4. Alternatively, open Internet Information Services (IIS) Manager, navigate to InLoox → login in the left tree view, and click Browse in the right-hand actions panel.
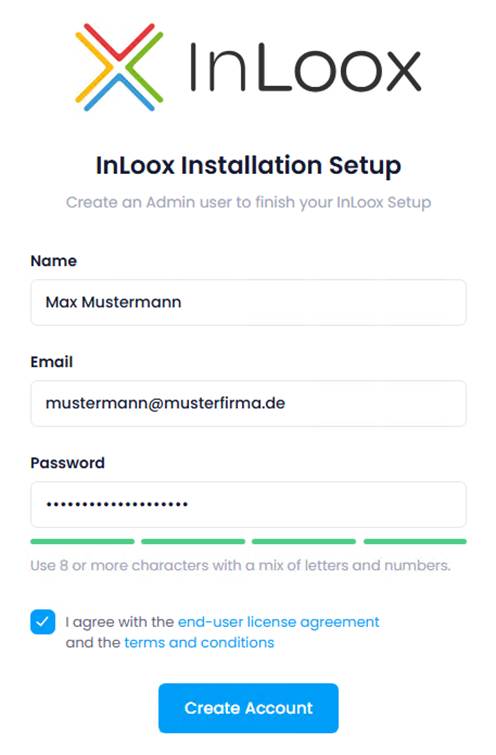
- A browser window opens with the InLoox installation setup. Create your administrator account and click Create Account.
- You are now logged in automatically. This process may take a few minutes.
Troubleshooting
If errors occur during installation, the log files are located in the %temp% directory. Send these files to InLoox Support at support@inloox.com for analysis.