Reports
InLoox reports help you prepare and export project information in a structured format — for example, for analytics, evaluations, controlling purposes, external stakeholders, or individuals who do not have access to your InLoox account.
Two types of reports are available:
- Single project report — Create a report within a project for that specific project.
- Multi-project report — Create a report that spans multiple projects.
Single project reports in InLoox Self-Hosted require an update to InLoox 12.2 (released July 22, 2025).
Generate a Single Project Report
-
Open a project.
-
Click the report icon in the upper-right corner to open the Create Report dialog.

-
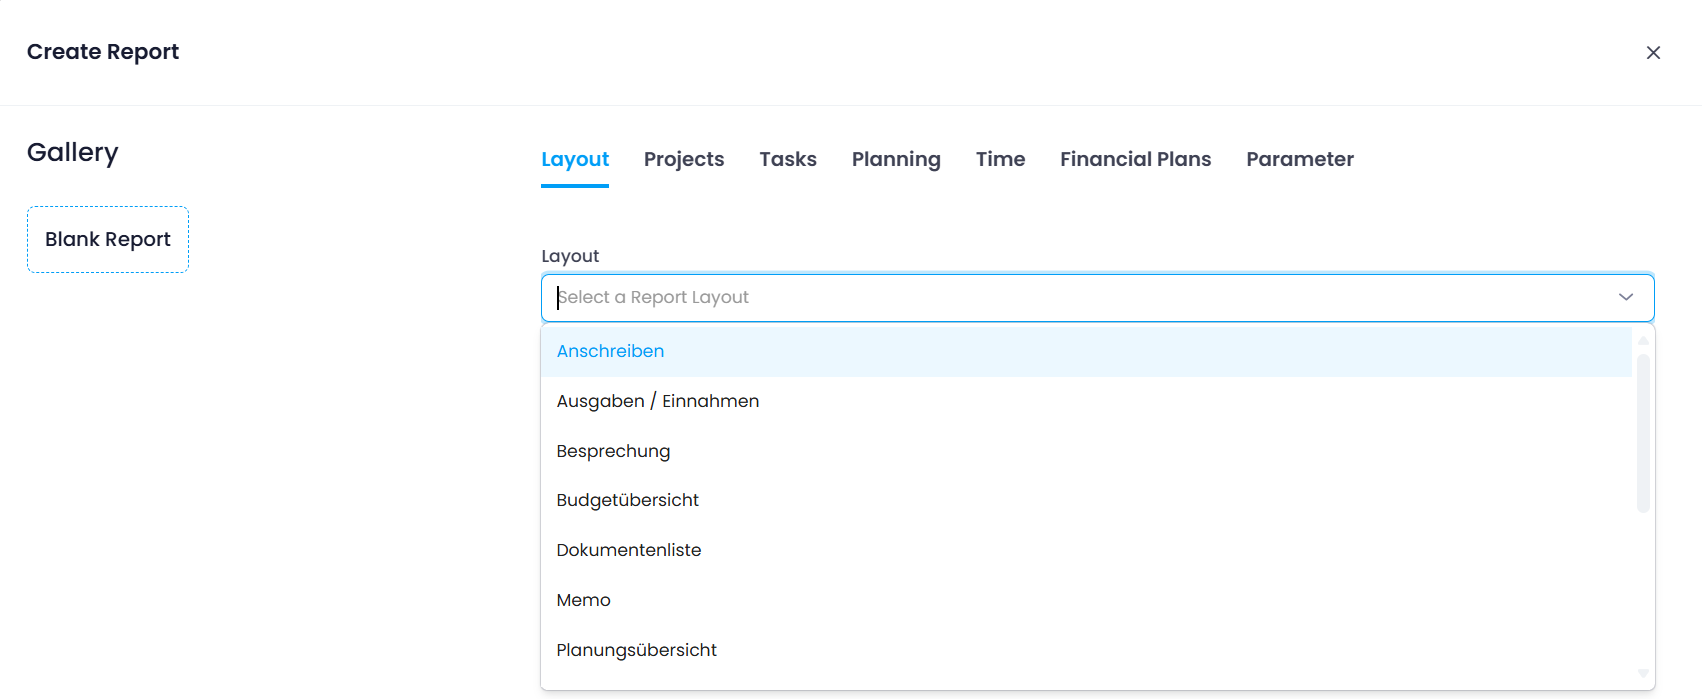
Select a layout from the available report templates:
- Cover Letter
- Expenses & Income
- Meeting
- Budget Overview
- Document List — Overview of the documents stored in the project
- Memo — Note with key data about the project
- Planning Overview — Overview of the project plan without displaying the Gantt chart
- Project Start — Memo at the start of the project with all key project data
- Project Status — Interim report on the project status
- Project Completion — Final notification on the project
- Revenue List — Overview of sales in the project
- Time Recording — Overview of the time tracking entries for a project
-
Use the additional tabs (Tasks, Planning, Time, Budgets, Parameters) to set restrictions and include or exclude specific criteria.
-
Click Create Report. You will receive an email notification once the report is ready. Access it under Reports in the main menu.
Parameters in Reports
You can define custom parameters for reports. Data queries based on parameter variables are only executed when the report is actually generated — this allows for dynamic filtering at runtime.
Generate a Multi-Project Report
There are three options for creating multi-project reports:
- Customize included standard reports
- Use the InLoox Report Designer for fully custom reports
- Import, export, and manage report templates
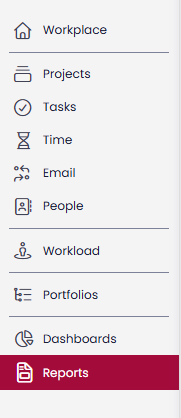
Navigate to InLoox → Reports in the left-hand menu.
Standard Reports
Click the New report button.

Select a layout from the same options listed above.
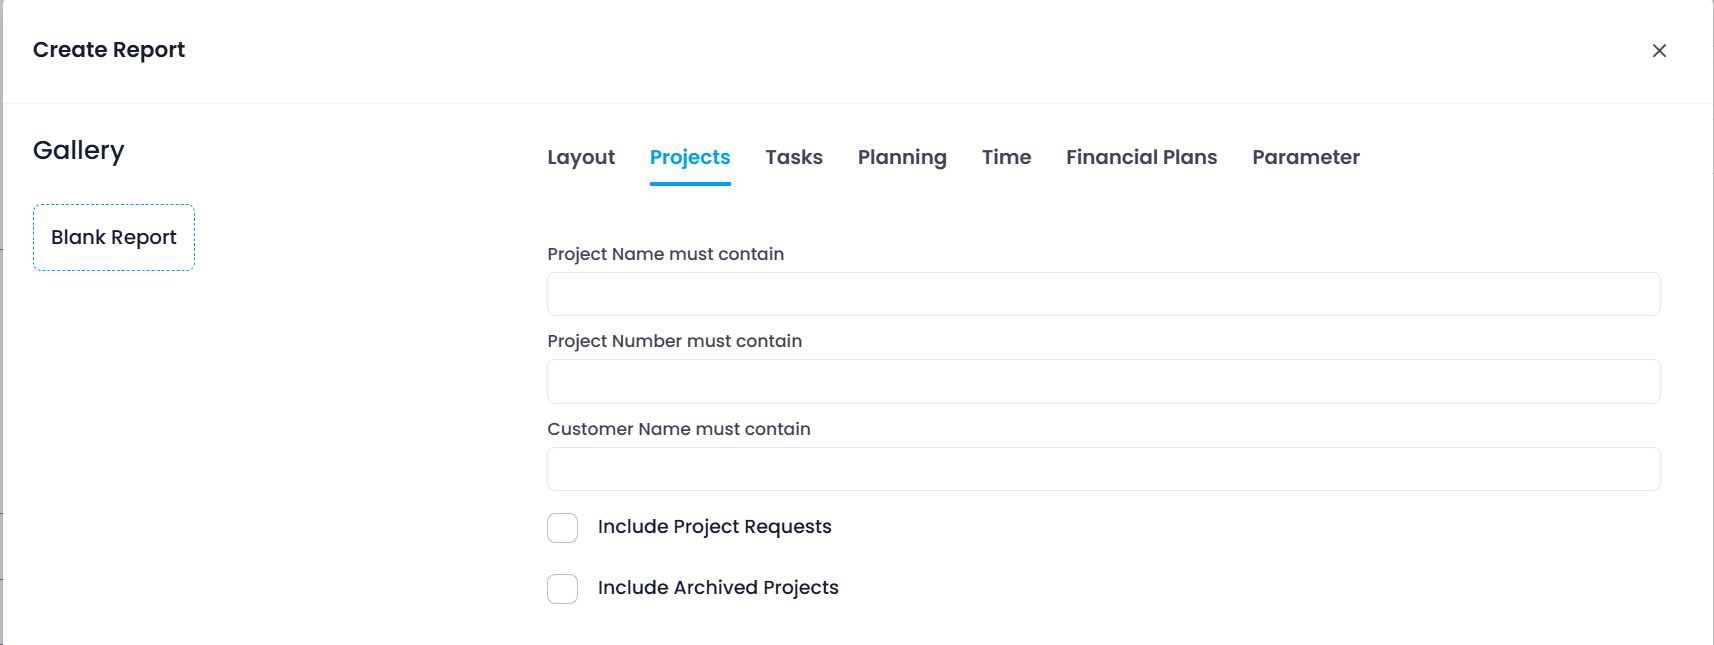
Use the tabs (Projects, Tasks, Planning, Time, Budgets) to set restrictions and filter criteria. For example, to filter by project name, enter the desired name under "Project name must contain".
Click Create Report. You will receive an email notification once the report is ready.
Individual Reports with the Report Designer
The Report Designer is a powerful tool for creating fully custom multi-project reports. Click the Report Designer button to open the designer interface.

An Open Report dialog will appear, allowing you to select an existing report. Click Cancel to start with a new blank report.
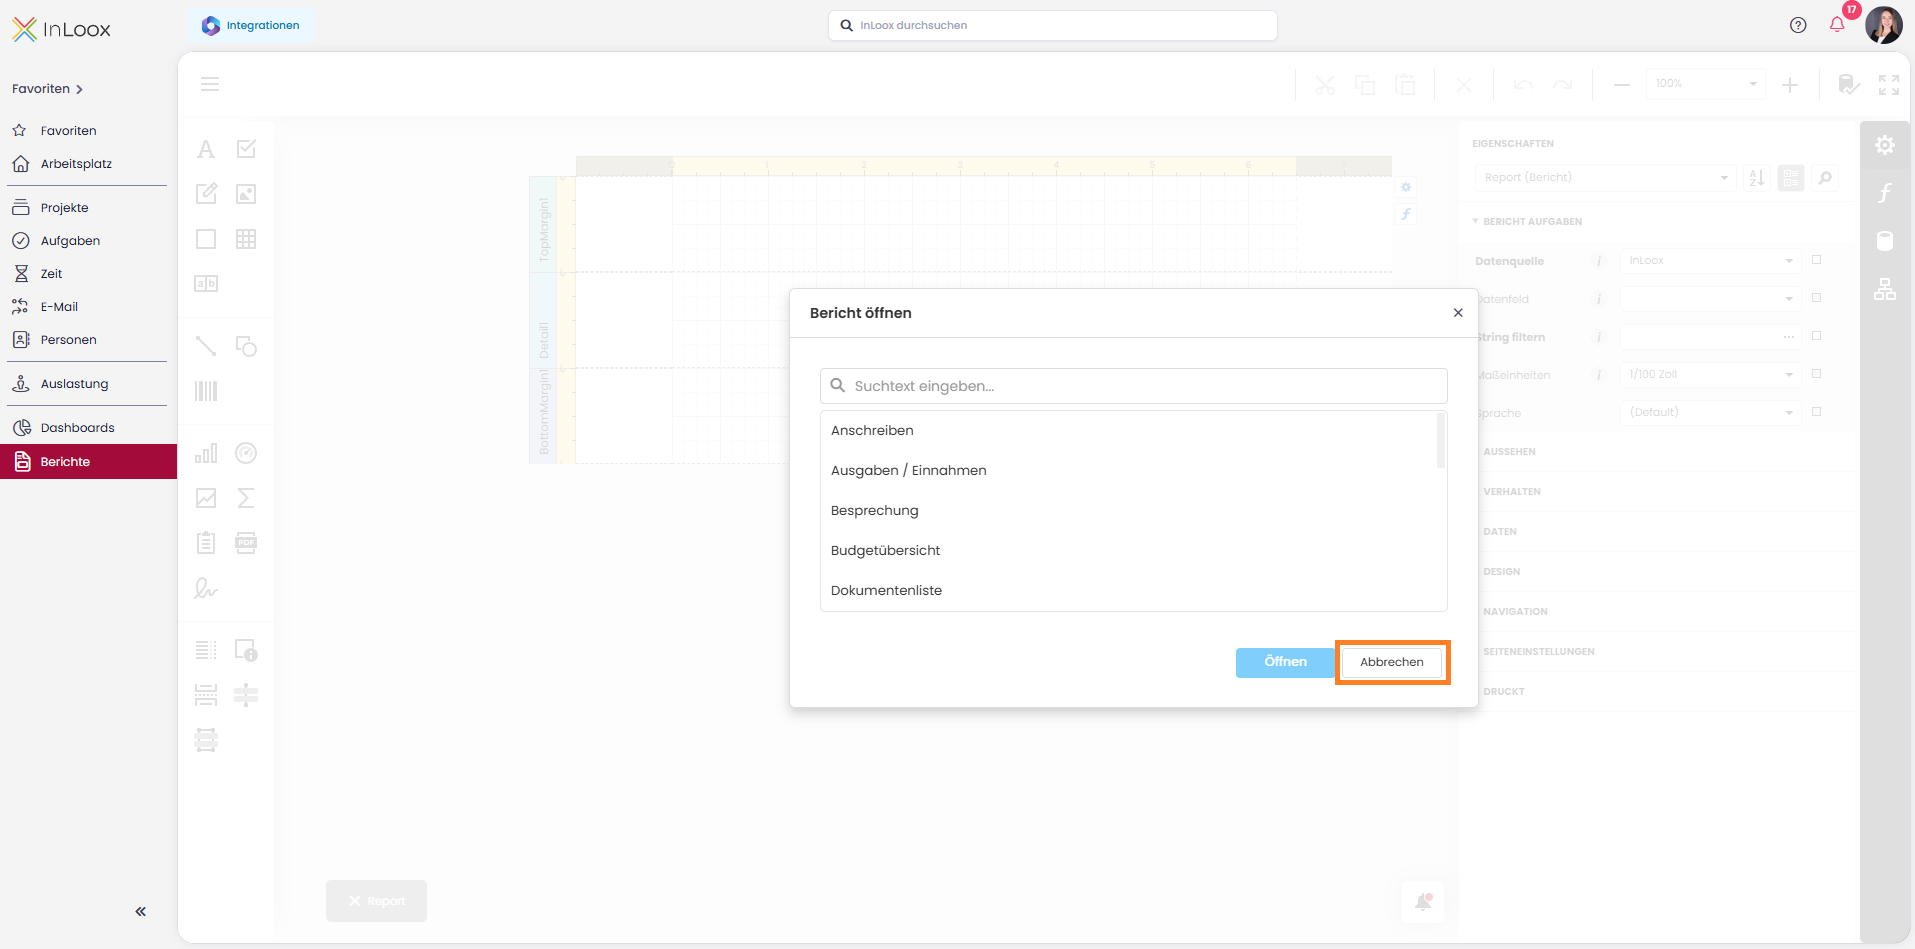
After clicking Cancel, you are in the designer interface of a new blank report. It is divided into several sections:
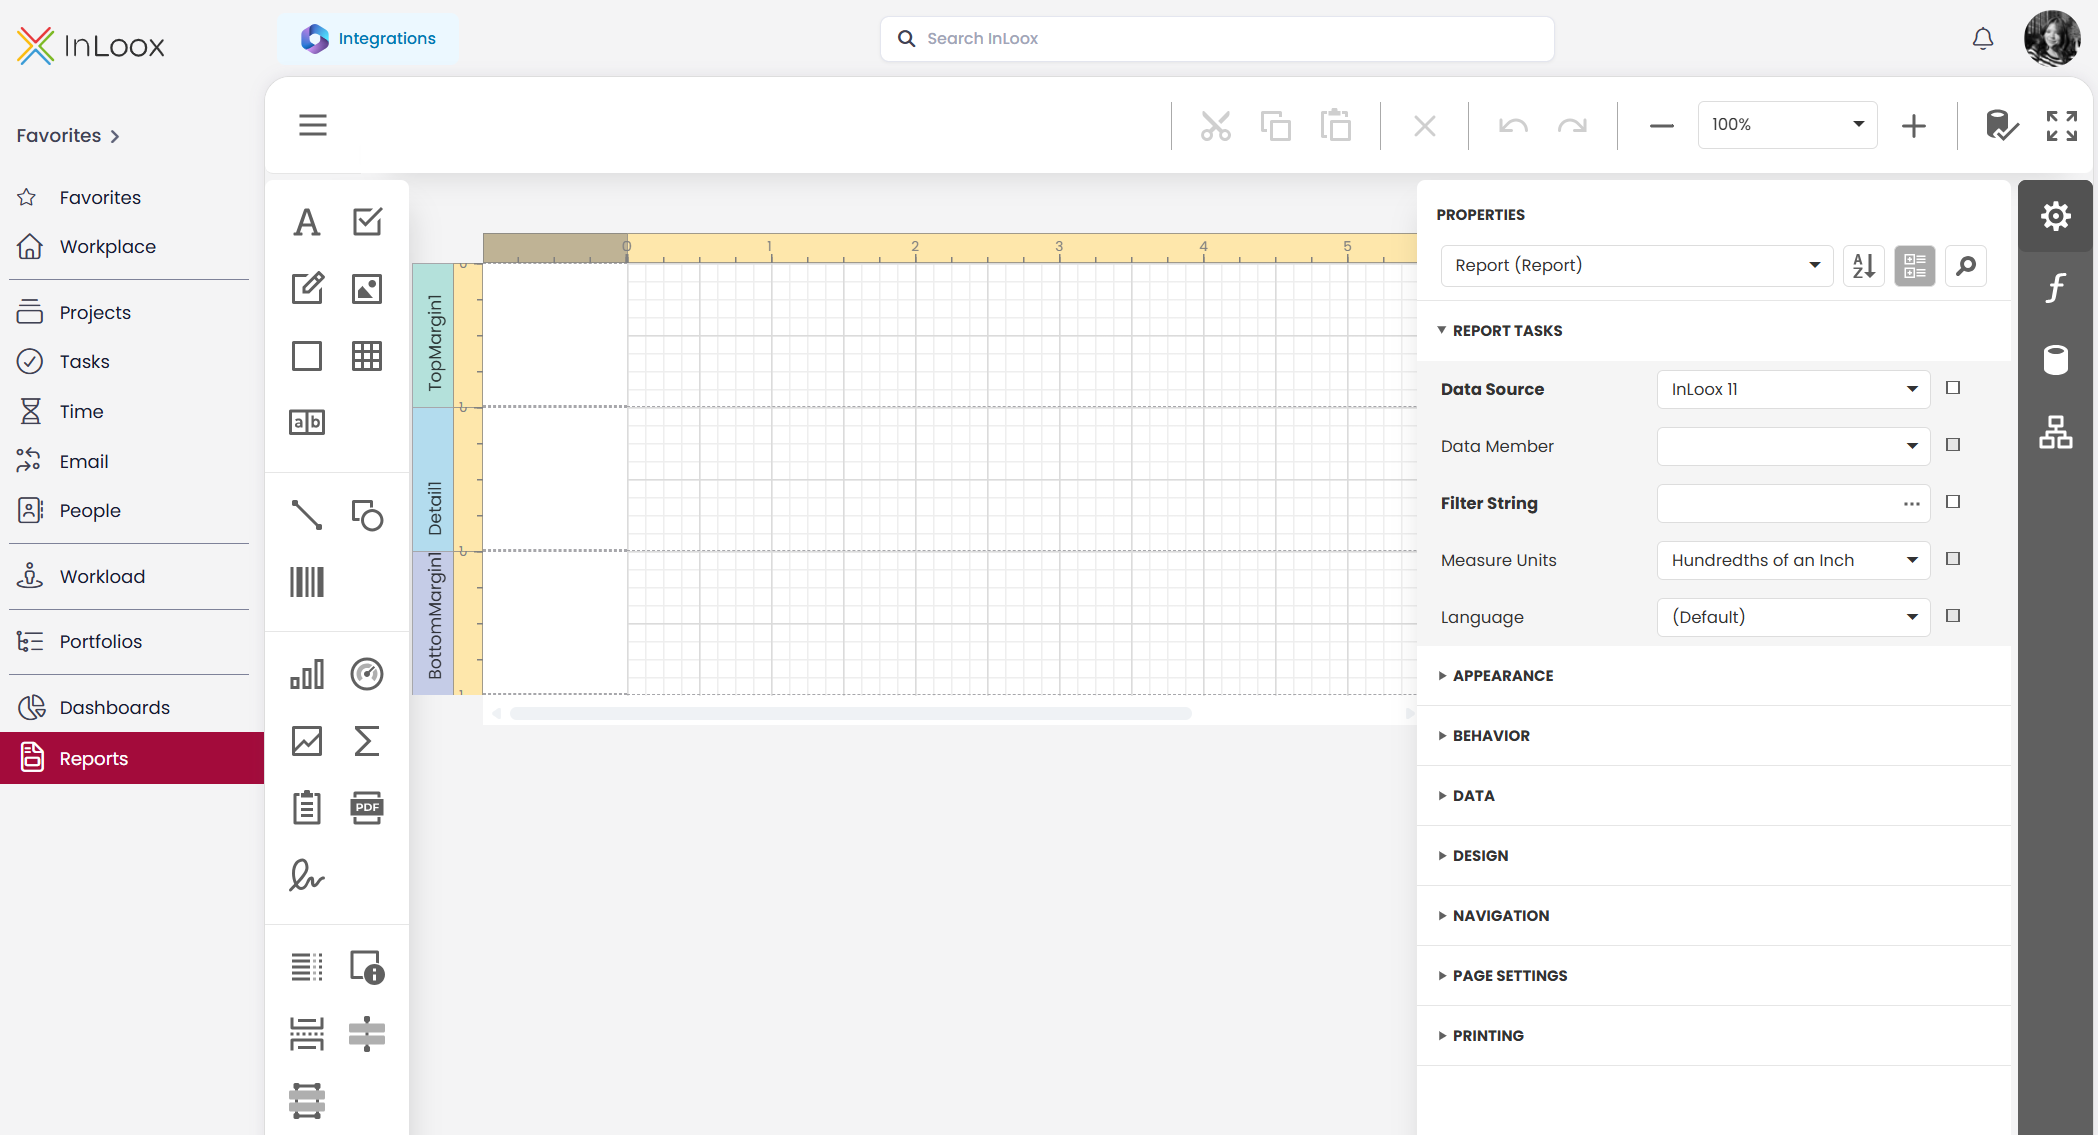
| Area | Description |
|---|---|
| Top toolbar | General commands — cut, copy, delete, undo/redo, zoom |
| Top left (☰ menu) | Organizational tasks — new, open, save, close, and the report wizard |
| Center | The report canvas with bands. Drag report elements (text, images, tables, charts) from the left panel. Edit element properties on the right panel. |
For detailed instructions on all Report Designer features, see the Report Designer documentation.
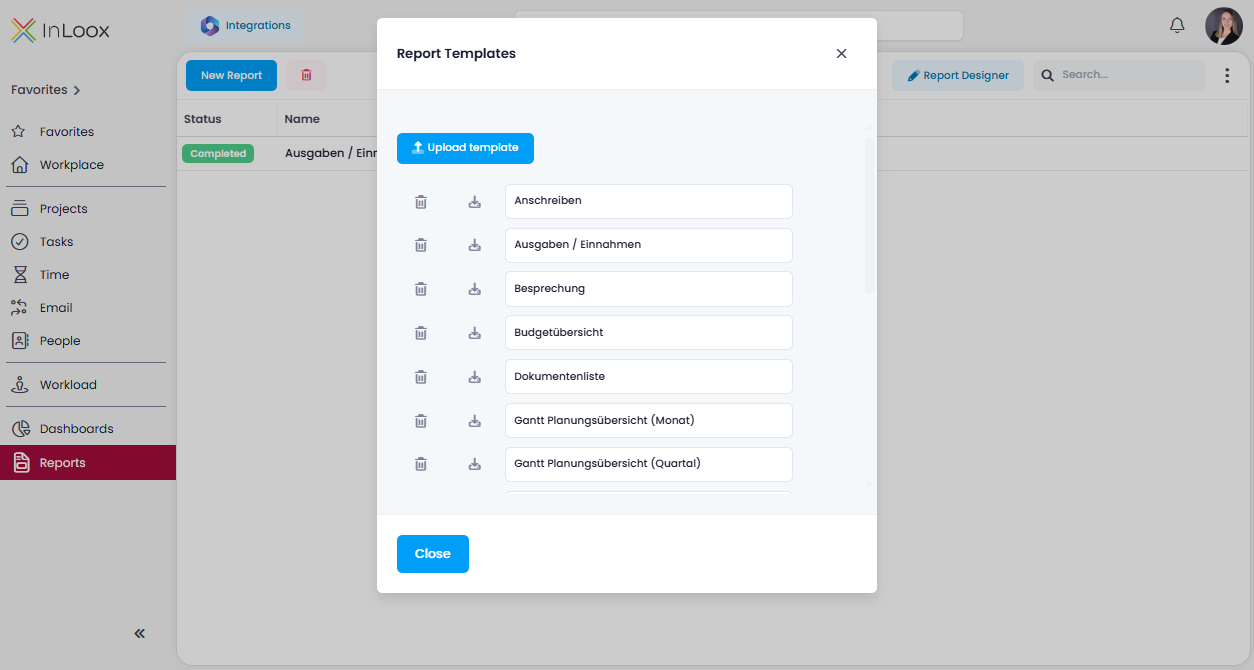
Report Templates: Import, Export, and Manage
-
Under Reports, click the three-dot menu (⋯) and select Manage Report Templates.
-
Click Upload template to import a new template.
-
The report name is automatically pre-filled with the file name (without extension). Adjust it if needed, then click Save.
- Download an existing template via the download icon.
- Delete a template via the trash icon.
- Rename a template by typing directly in the name field.