People & Contacts
The People section in InLoox is where you manage all contacts associated with your account.
If you are new to InLoox, this section will be empty except for your own contact entry and, if applicable, the person who invited you.
Microsoft 365 Contact Synchronization
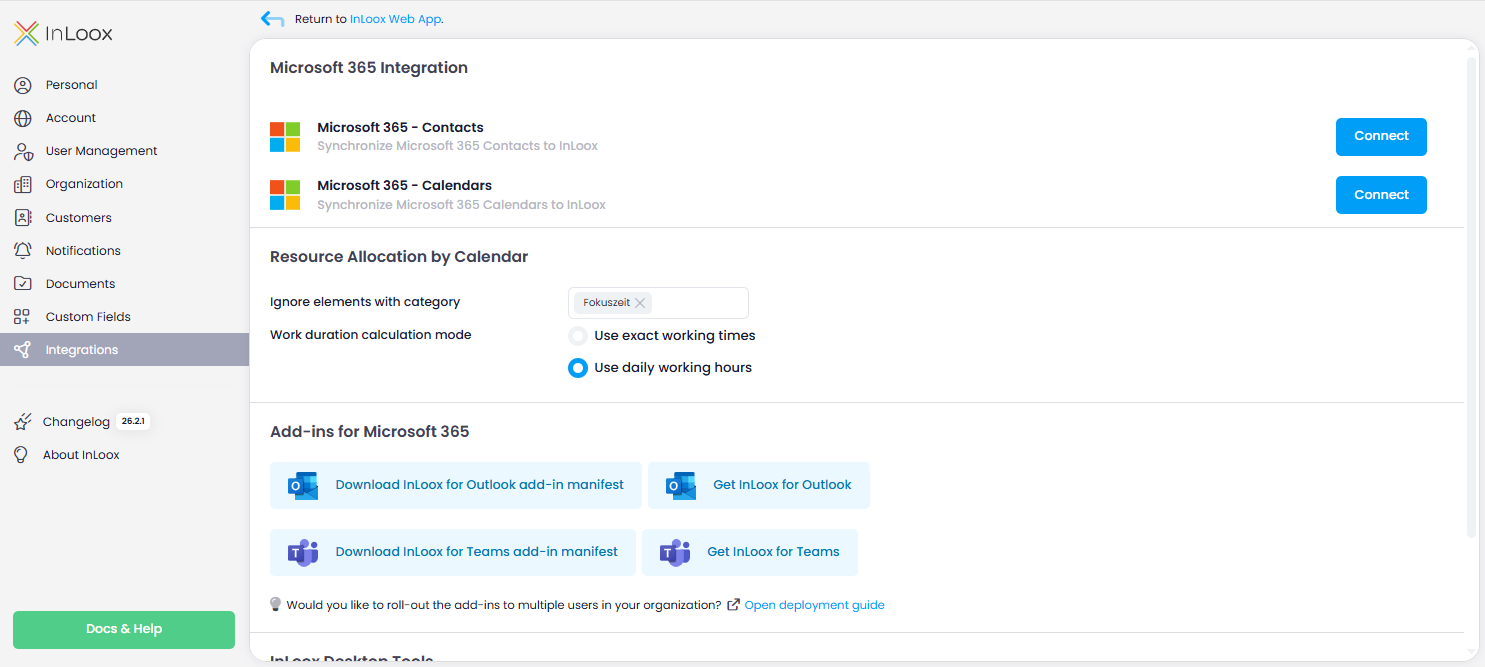
If you have connected your InLoox account to Microsoft 365, you can enable synchronization with your Microsoft 365 contacts under InLoox Account Settings → Integrations → Microsoft 365 Integration. These contacts will then appear in People.
Learn how to set up the synchronization in the Calendar and Contact Synchronization help article.
To set up Microsoft 365 contact synchronization, you must be both an InLoox administrator and a Microsoft 365 administrator.
Synchronized contacts are not InLoox users yet. If you want to give a person access to your InLoox account, you need to invite them first. Click on the contact entry and then click the Invite button.
Make sure you have enough available licenses. Assign a license if needed — learn more in the Distribution of User Licenses help article.
Permissions
Access to the People section is controlled by global user permissions. Administrators can restrict access using the following global permissions:
- Read people — Controls whether a user can see the People section. If disabled, the section is completely hidden.
- Edit people — Controls whether a user can edit contact entries. Without this permission, users can only manage their own availability (e.g., add days off) but cannot edit any contact details.
- All people available in contact picker — Controls whether a user can see all contacts when selecting contacts (e.g., as a project member or as a resource for a task). If disabled, the user only sees contacts they already collaborate with in projects. These contacts must be added as direct project members (via project role as contact or group).
For external contacts (e.g., clients, freelancers, consultants), we recommend disabling all three permissions above. This way, external users can only see basic contact data (name, email address, contact picture) for contacts who are also direct project members in the available projects. All other contacts are then not available.
For internal users, enable All people available in contact picker so they can see all contacts when adding project members. Additionally, enable Read people for users who need broader access to the People section (e.g., project managers, HR department).
We also recommend assigning the global user permission Edit People to a limited group of users only.
Customizing the People List
You can customize the People list by adding or removing columns to display the information most relevant to you.
In addition, you can quickly group the People list using the predefined grouping options in the toolbar:
- Company — Groups contacts by their company name.
- Department — Groups contacts by their department.
- Location — Groups contacts by their location.
- Company > Department — Groups contacts first by company, then by department within each company.
For custom groupings beyond the predefined options, activate the Advanced Mode via the three-dot menu in the upper-right corner. In Advanced Mode, you can drag columns into the grouping area above the table to create individual groupings.
You can also filter and sort the list to display exactly the data you need, and save customized views for future use.
Topics
- Create a New Contact — Learn about the different contact types and how to create new contacts
- Invite People to InLoox — Multiple ways to invite colleagues to your InLoox account
- Change the Email Address of a Person — Step-by-step guide to updating a user's email address
- Define Availability of a Person — Set base load and days off for project work
- Import and Export Contacts — Import contacts from Excel or CSV files and export the contact list to Excel