Lists
With the Lists feature, you can create checklists for your project and organize project information in a clear, structured way from an early stage.
Contents:
- Structure of the lists
- Create a list and add columns
- Add list entries
- Export and import lists
- Create and use templates
Structure of the lists
Lists are created within a project in the Lists tab and are therefore exclusively project-specific.
On the left, you can see all lists that have already been created for the project:
- Navigate from list to list.
- Right-click a list to open a context menu for deleting existing lists.
- You can add as many lists as you like to a project.
On the right-hand side, you will find the content of the selected list.

Create a list in the project and add columns
- Open the project to which you want to add the list and click the Lists tab.
- To create a new list, click the blue New List button.
- In the editing panel on the right-hand side, assign a name to your checklist.
- To configure the list, add new columns using the Add Field button on the right-hand side.
You can build your list from various column types:
- Text
- Datetime
- Integer
- Decimal
- Boolean (a checkbox that corresponds to a yes/no value)

New columns always appear on the far right by default. You can change the order of columns using drag and drop.
- Use the pencil icon to rename a column and the trash can icon to delete it.
You can show and hide columns, as well as filter, group, and sort them — just like in other InLoox areas. The only difference is that there are no predefined columns in lists; you create the columns yourself.
Add list entries to the list
Fill your list with content by adding list entries:
- Click the blue New line button.
- A new line appears. You can type text directly into the line in the list.
- Adjust the order of lines manually by grabbing a line at the six-dot icon and dragging it to the desired position.
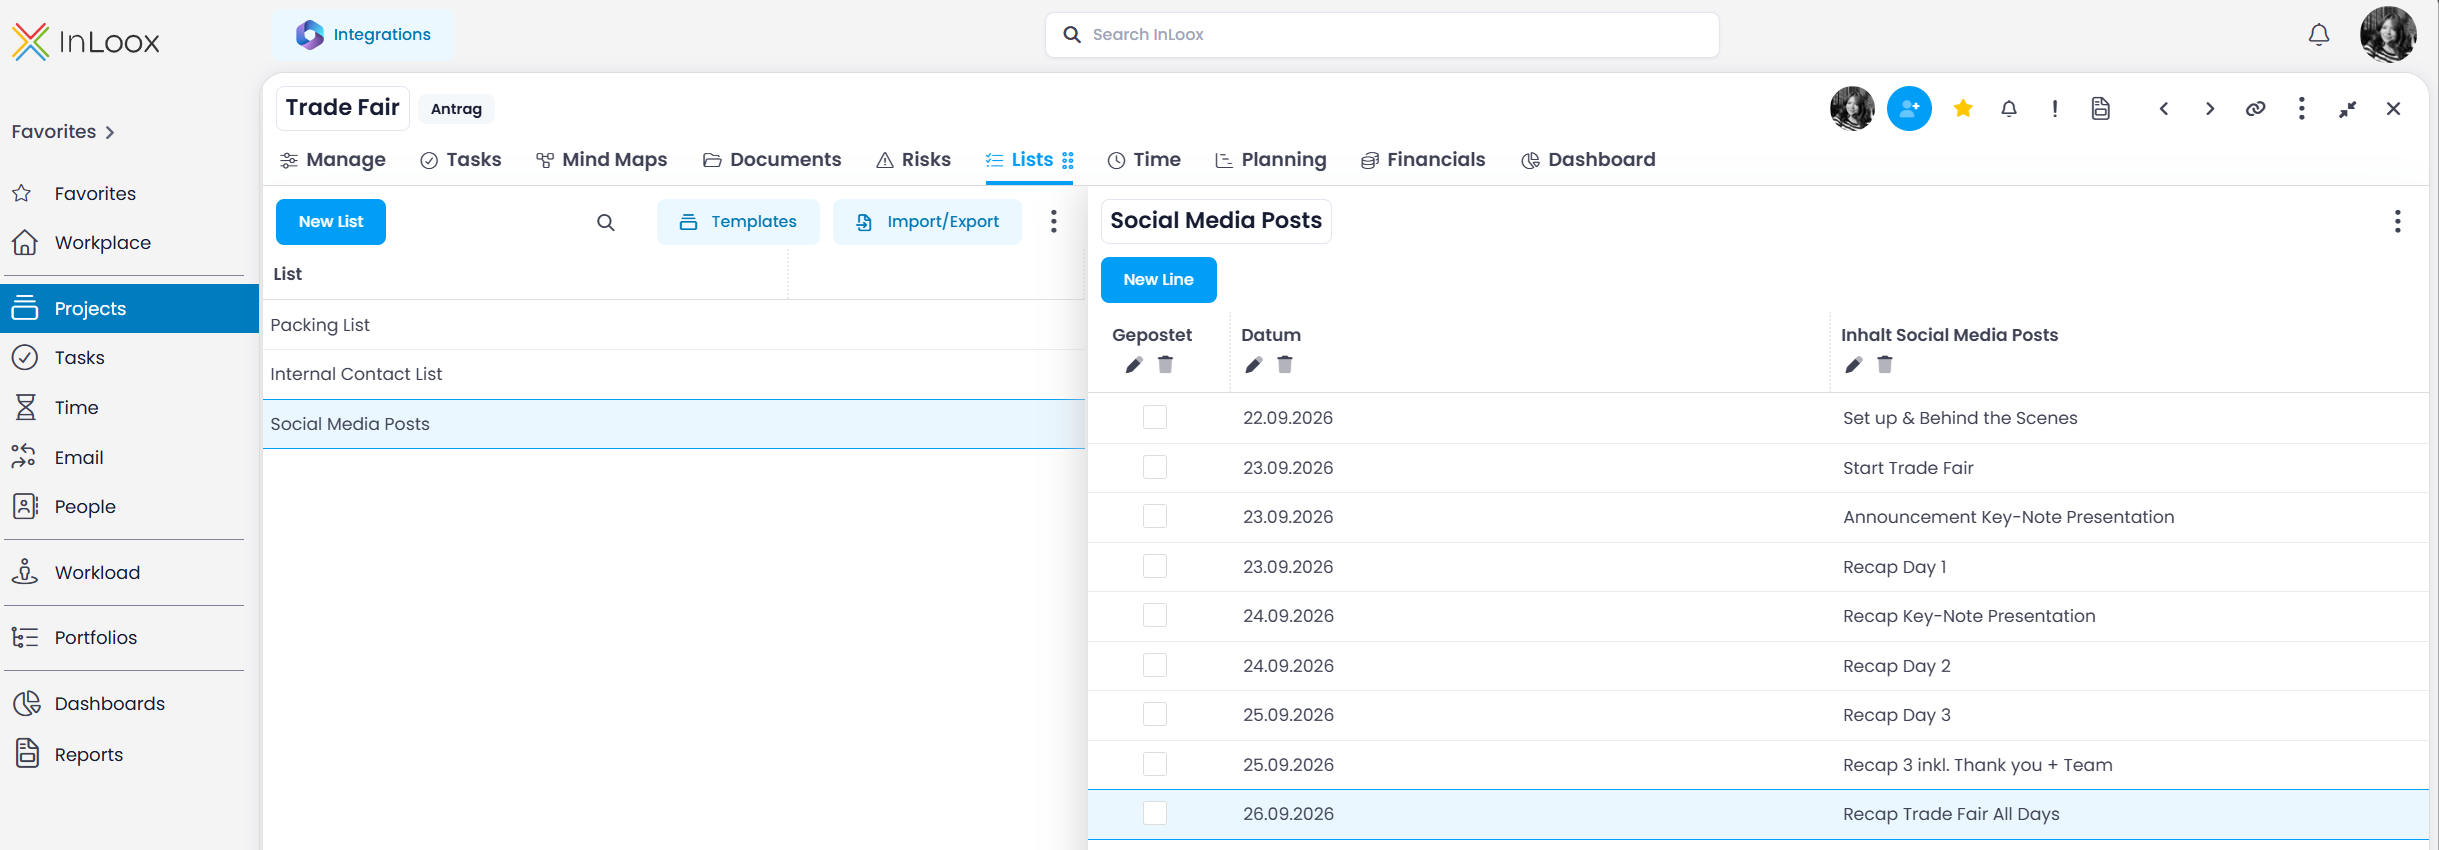
Example: Checklist with Boolean, Date, and Text columns
You can create a classic checklist for ticking off with the Checkbox and Text column types. A date column can also be added:
Export and import lists
InLoox offers two ways to export lists:
- Excel export: Click the three vertical dots at the top right and then click Export to Excel. Only columns that are currently visible in the list will appear in the export.
- InLoox file: Click the Import/Export button to export or import lists as a .inlooxlist file. This allows you to transfer lists between projects or InLoox accounts.
Create and use templates
With InLoox, you can create templates for checklists that are relevant across different projects.
First, create a list you want to reuse in a project of your choice.
Save a template
- Save the list by clicking the Templates button and then Save List as template.
- Enter a name for the list and confirm with Save.
- The list is then available under Templates.