Invite Your Team
InLoox works best as a team. Invite your colleagues to collaborate on projects together — there is no need for separate accounts.
You need administrator permissions to invite people, or your admin must have activated Allow users to invite people to this account.
Invite a team member
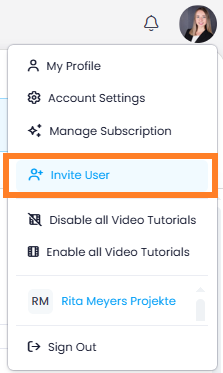
- Click your profile picture in the upper-right corner.
- Click Invite User.
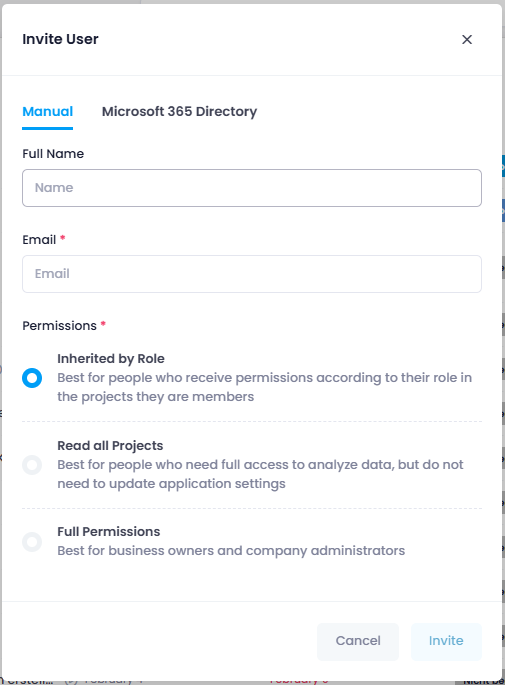
- Enter the name and email address of the person you want to invite.
- Select how the person should receive access rights:
- Inherited by Role — The person receives access rights based on their project role. Cannot change account settings. Recommended for productive use.
- Read all Projects — Full read access to all projects and project data but cannot change account settings.
- Full Permissions — Administrator rights. Can read/edit everything and change all settings. Only an administrator can grant this permission. Recommended for testing and trying out all InLoox features.
- Click Invite. The invited person receives an email with a link to join your InLoox account.
Always designate at least two people as InLoox administrators so that there is always someone available if settings need to be changed.
The invited person is automatically created as a contact in the People section, so you can immediately assign tasks or project roles to them.
For more ways to invite people (e.g., from the Microsoft 365 directory, via the People section, or through task assignment), see Invite People to InLoox.
Assign user licenses
After inviting someone, assign a user license so they can edit content.
- Click your profile picture > Account Settings.
- Click User Management.
- Change access from Read-Only to Read & Write.
For more details, see Distribution of User Licenses.
Configure permissions
InLoox uses three types of permissions: global user permissions, role permissions, and division permissions. These are cumulative — each level adds permissions, never restricts them.
For a detailed guide on how to configure permissions, see the Permissions help article.
Next step
Your team is set up! Now create your first project together.