Review and apply AI drafts
InLoox AI, with AI chat, AI agents, and AI drafts, is currently available as a beta.
Beyond answering questions, InLoox AI also creates and changes data for you. Nothing is saved automatically: the AI prepares a draft, and you decide what gets applied.
This is part of AI Chat. For the required permissions, see AI Chat.
What the AI can create and change
Describe in the chat what you need — for example:
- Create individual tasks in a specific project
- Tick off tasks and complete activities
- Rename Gantt planning elements and update their descriptions
- Set up a whole project — name the initial project status, division, categories, muted notifications, and project members in your prompt and the AI picks them up
As an administrator, you can also create account-wide master data through the chat — project categories, divisions, and project statuses. Name the entry exactly as it should read and confirm when the chat asks. If an active entry with that name already exists, the chat says so instead of creating a duplicate. You review and edit these entries in Account Settings under Organization.
Values you state explicitly — names, task count, effort hours, due dates, and durations — are taken over exactly, whether they come from your prompt or from an attached document. A time range such as 9:00 to 17:00 becomes the start and the due time of the task, and the duration follows from the range instead of being rounded to whole days. The AI never invents times your source does not state.
AI Agent Jobs
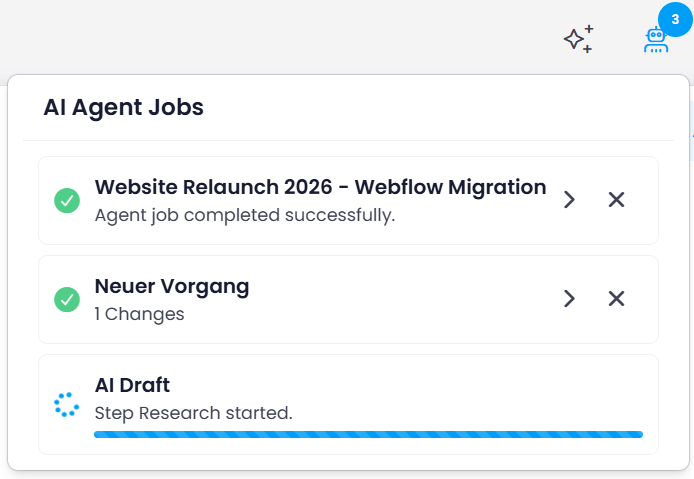
The AI works in the background and presents you a draft that you review and approve. In InLoox, these background jobs are called AI Agent Jobs. A number appears on in the header right away. Click it and the running job shows you that the AI is still at work — for example AI draft. Agent job queued…. Only once the job is finished can you review the draft.
Track the jobs
AI Agent Jobs in the header collects all jobs — those still running as well as the finished ones. The number on the icon gives the count of entries.
In the header, click to open the list. Each entry shows its state:
- A running job shows the current work step and a progress bar.
- A finished job shows a green checkmark and the number of changes.
Use to remove an entry from the list.
Review and apply the draft
- On a finished job, click . The AI Agent Result — Review & Confirm window opens, with the project in the subtitle.
- On the left, select the area — depending on the job, for example Project, Description, Planning, Tasks, Risks, Mind Maps, Knowledge Pages, Comments, or Changes. Next to it, you see how many items of that area are selected, for example 21/21.
- Review the entries. If needed, edit a drafted entry before applying it: click in its row, change the fields, and confirm with . Edited rows are marked as edited. Then use the toggles to define what gets applied — per entry, or with the toggle at the top for the entire area.
- Click Apply selected entities to save the entries to the project.
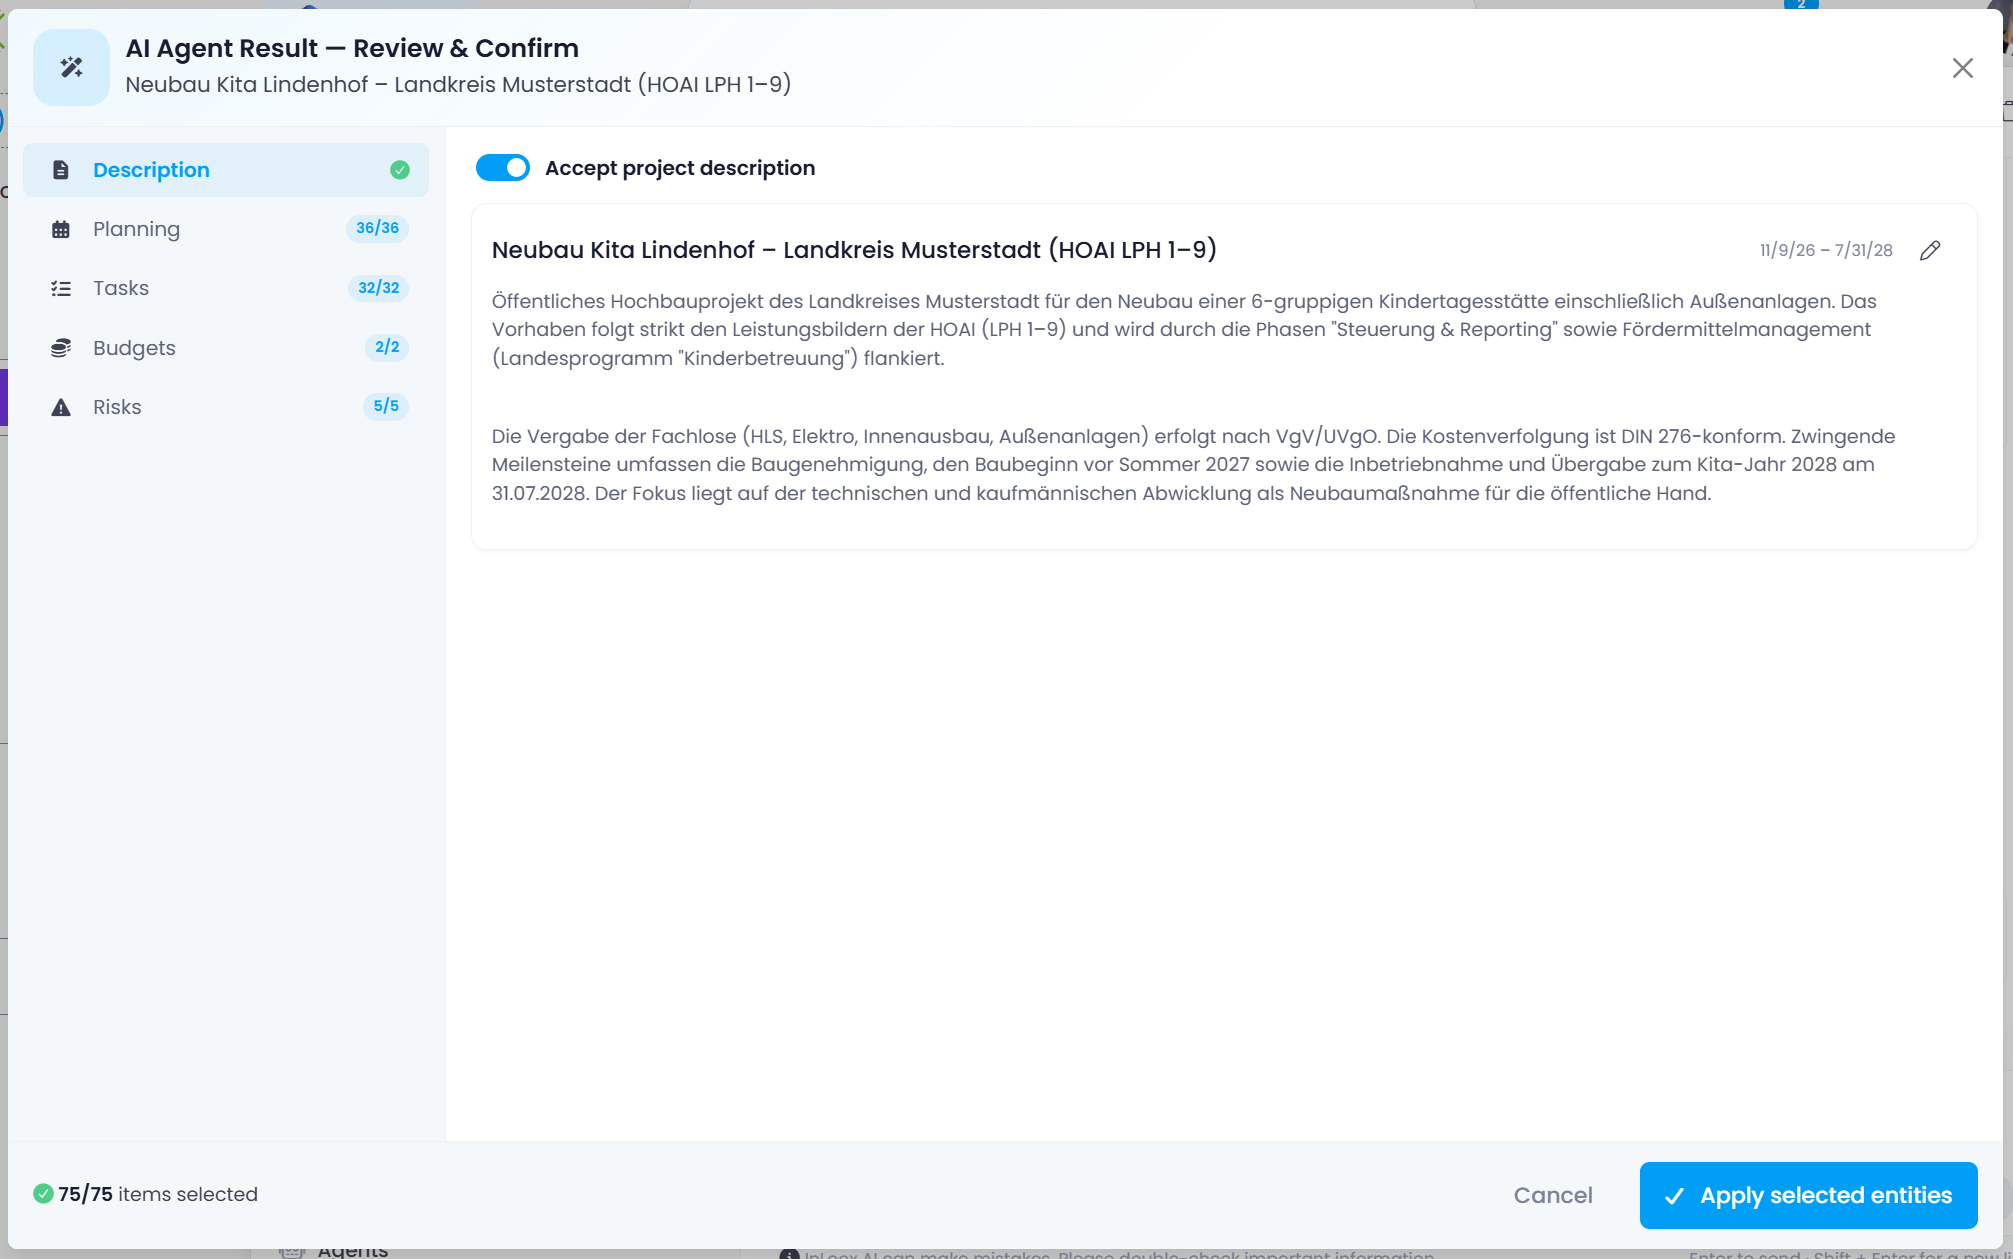
Under Description, the generated project description is shown together with the project's time span. A single toggle decides whether it is applied:
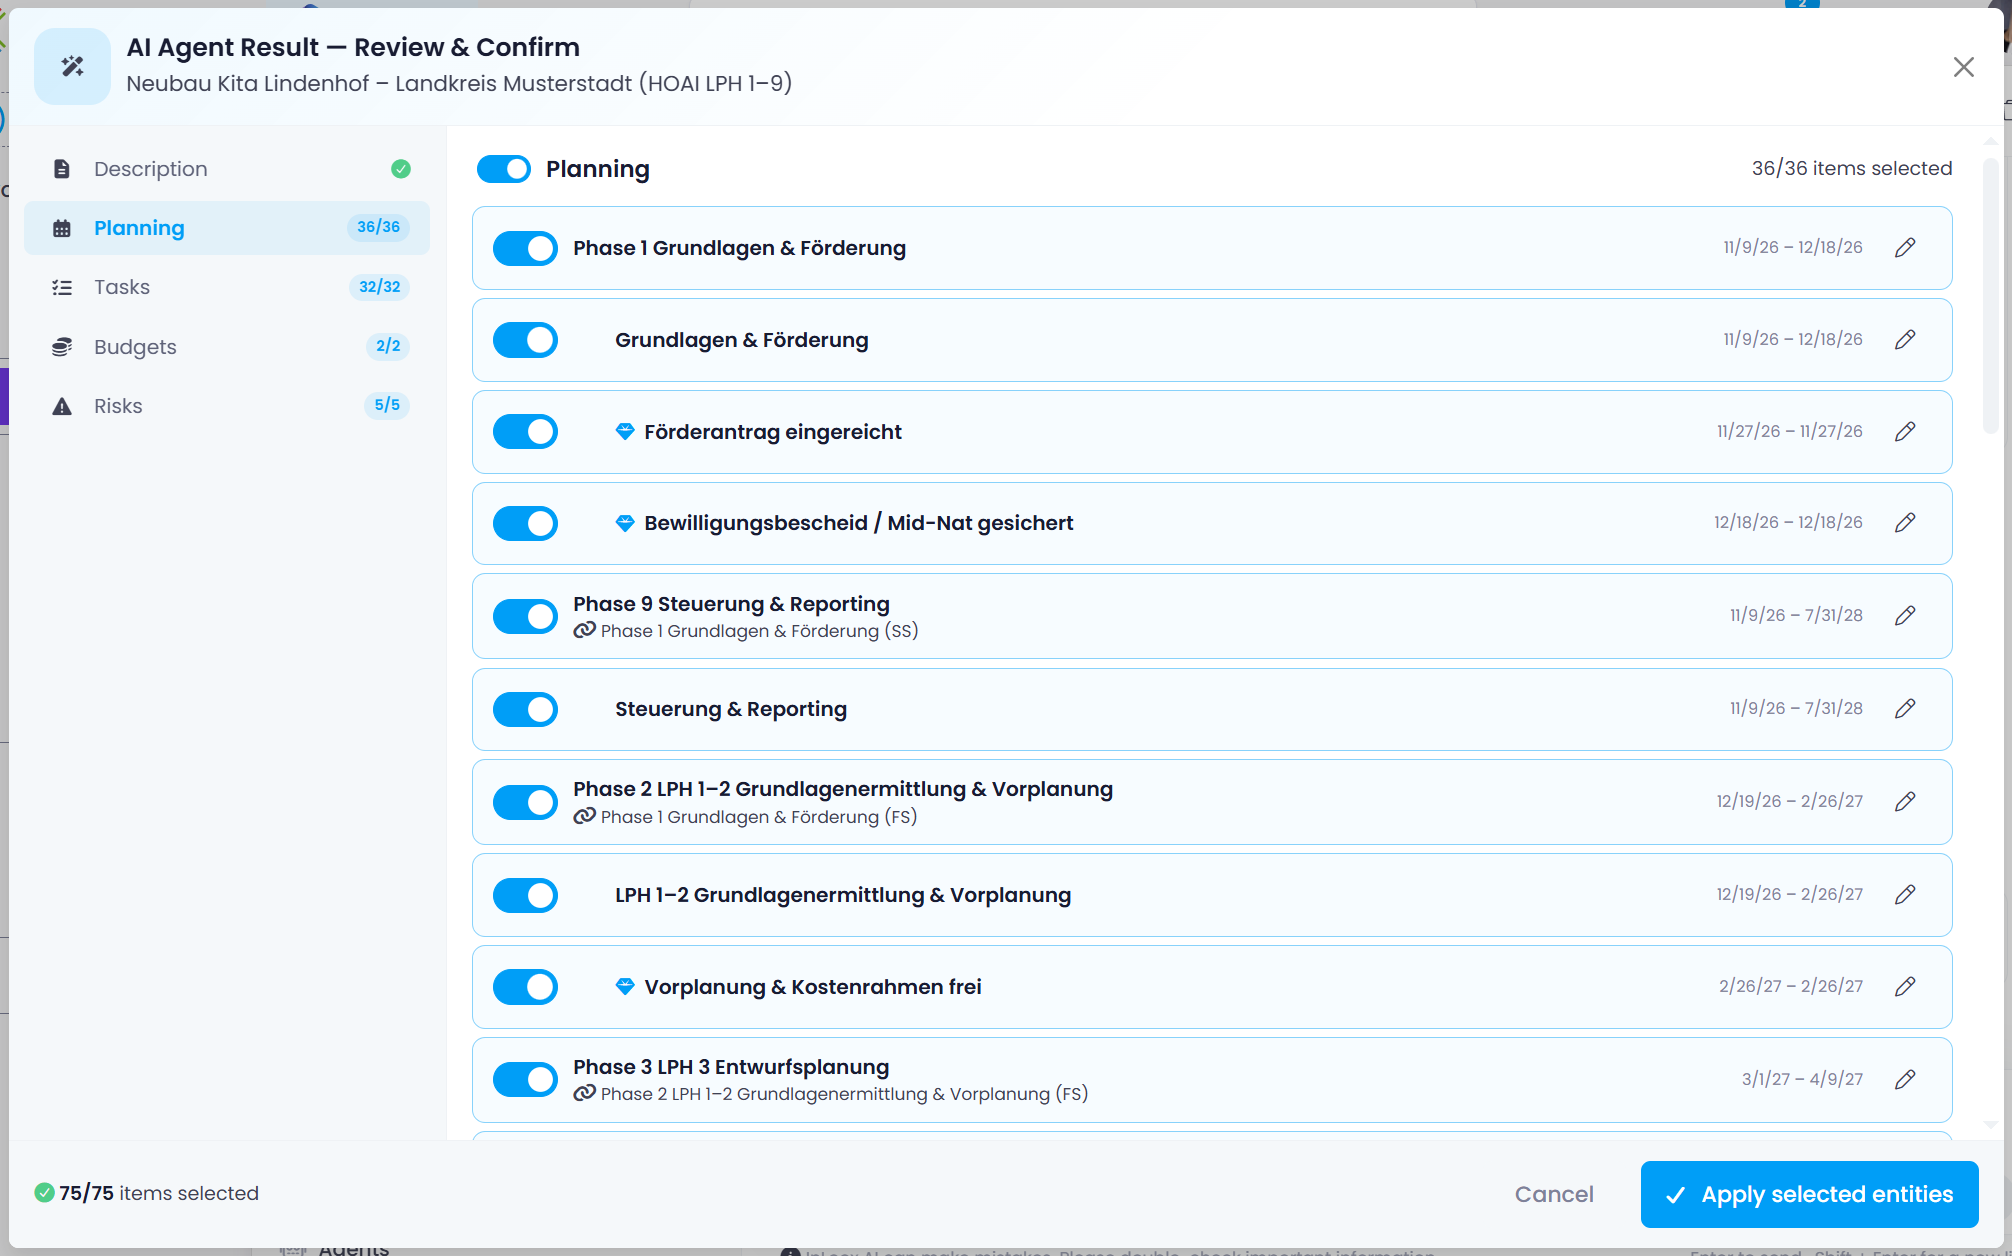
Under Planning, each item shows its time span and its dependency on other items, for example (FS) for finish-to-start. Milestones are marked separately:
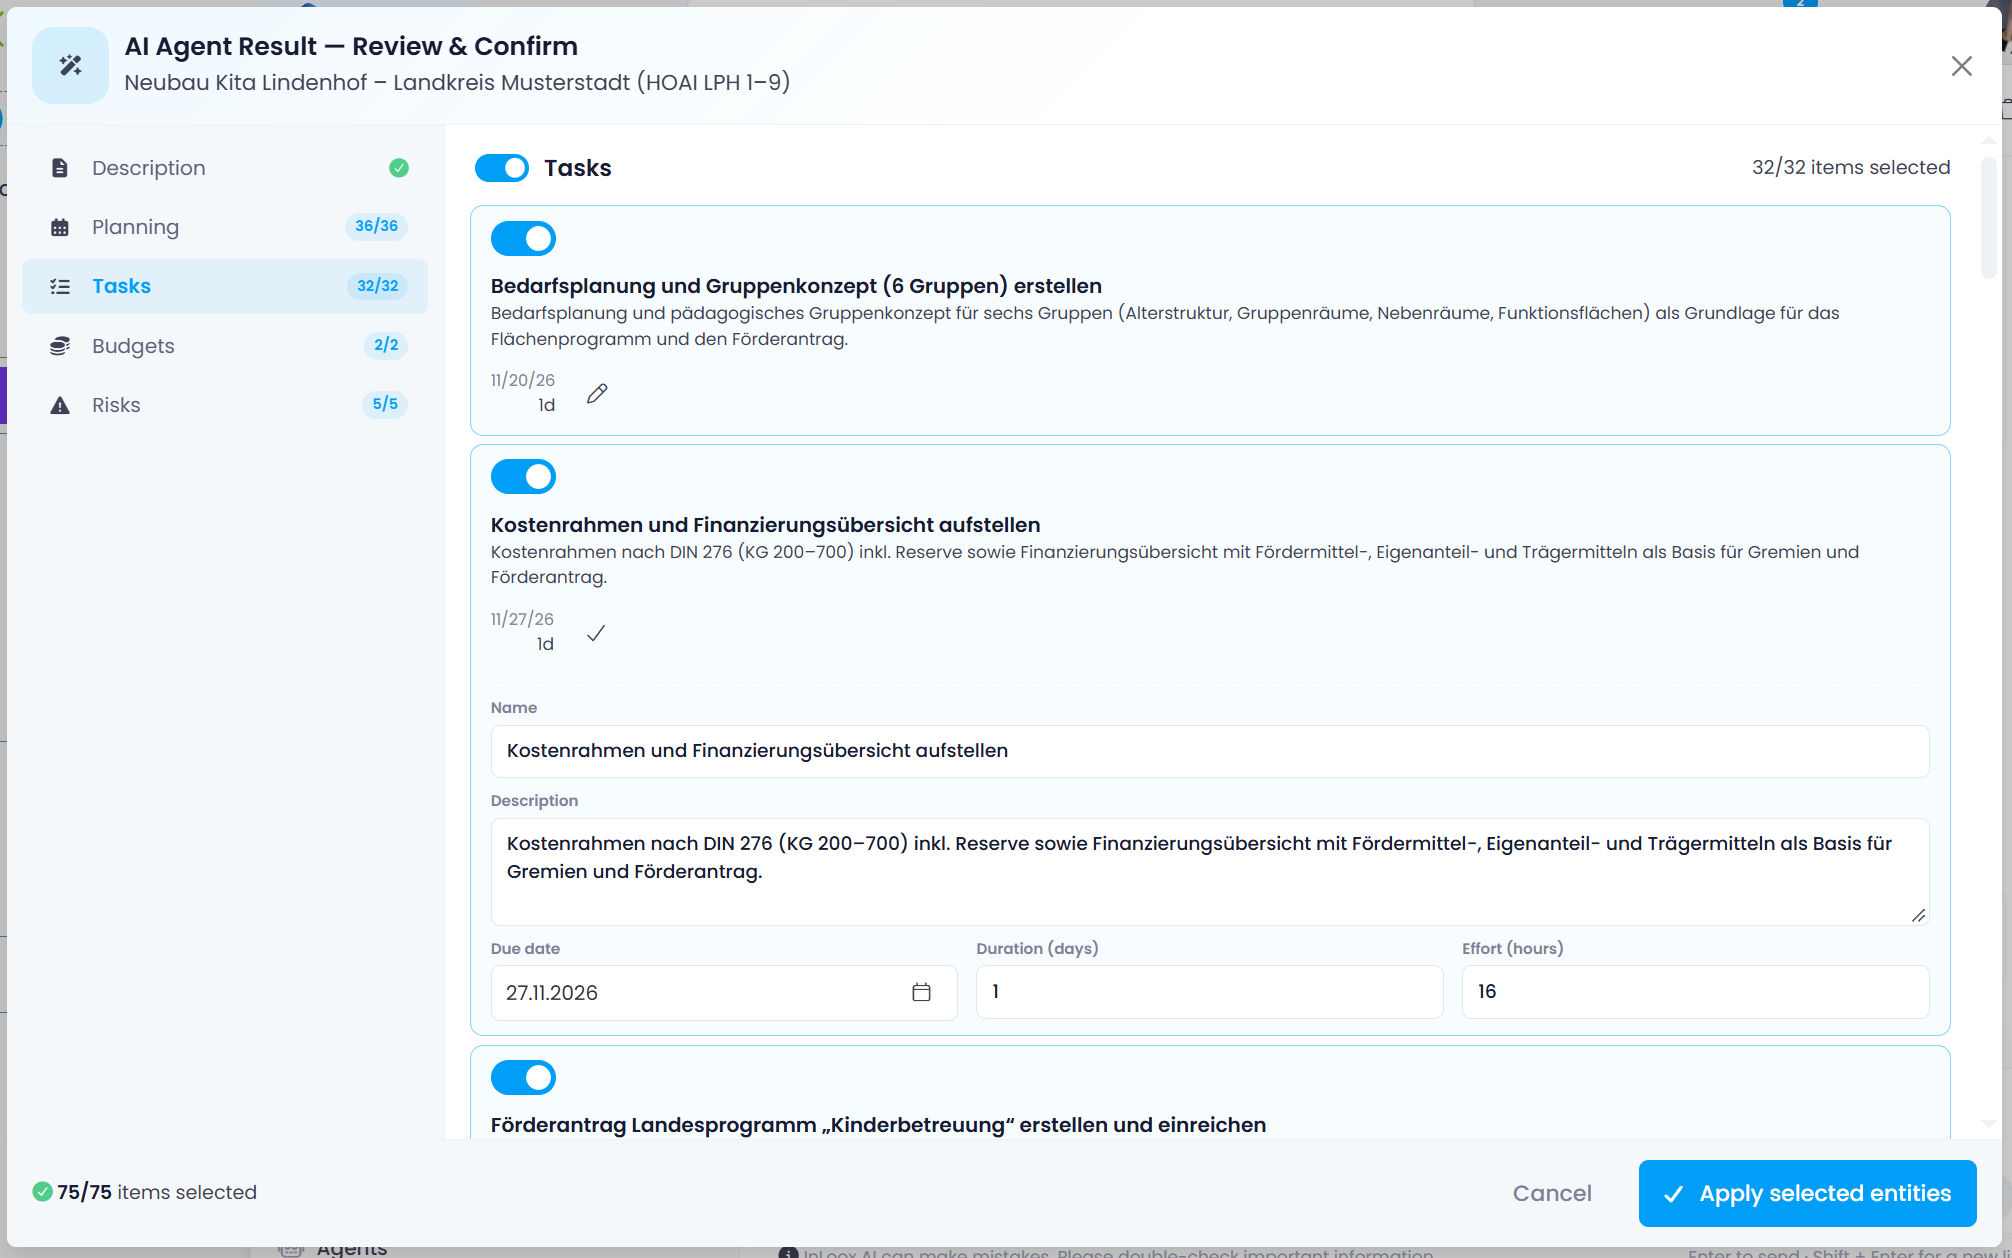
Under Tasks, each task shows its description along with due date and duration. Where the draft carries clock times, the row shows start and due time instead of the plain date, and a duration of less than a day is shown in hours. When you edit a task, you can change its Name, Description, Due date, Duration (days), and Effort (hours):
If a drafted task belongs to a drafted activity, an edited due date is kept within that activity's scheduled period. Changing the due date keeps the time of day the draft already carries.
Under Changes, you find edits to entries that already exist. Each change names the field it affects, the previous and the new value, and a short reason — here a task is set to done:
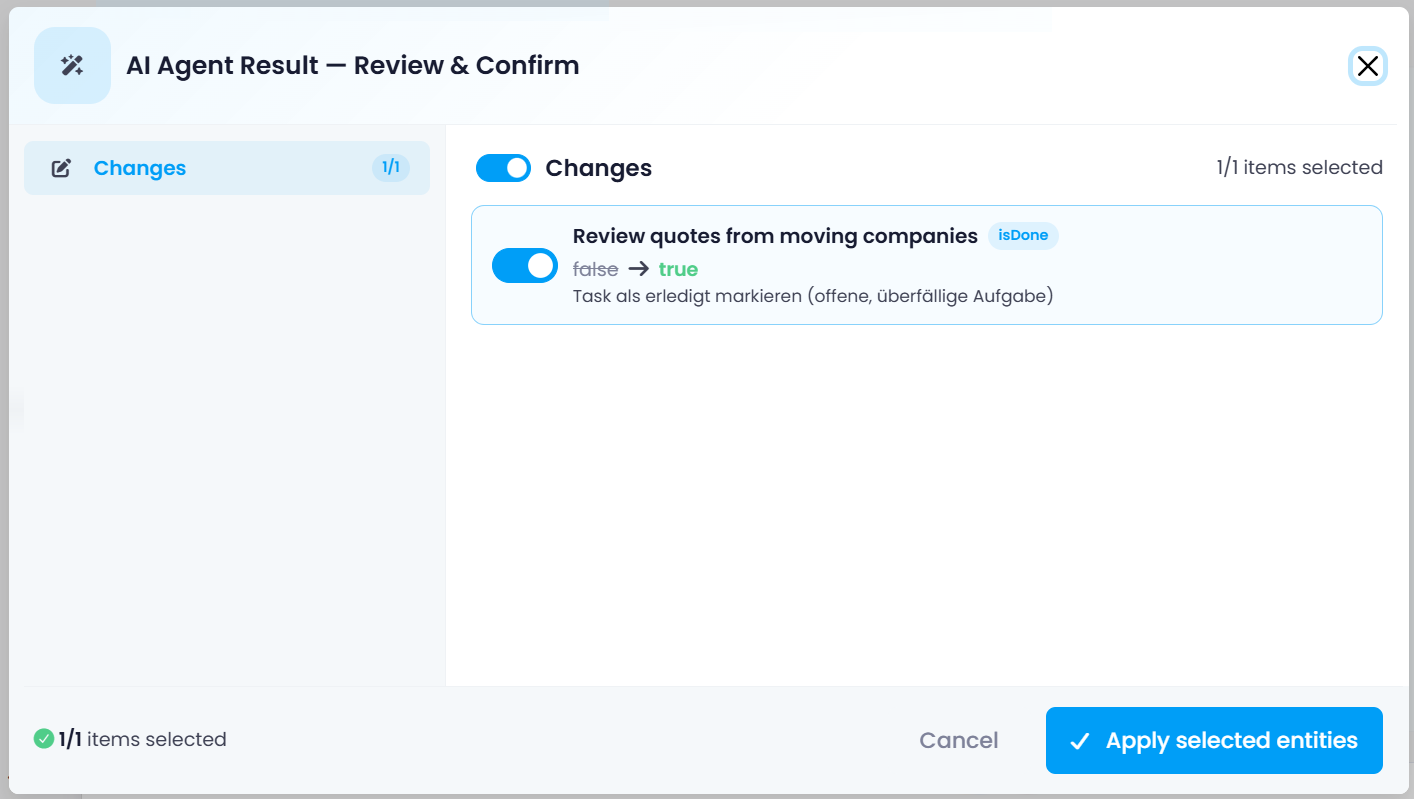
For custom entity fields, the line below the field name shows the custom entity type name (for example Status report).
After the apply, InLoox reports how it went:
- Draft applied successfully — all selected changes were saved to the project. The window shows This draft has already been applied at the bottom.
- Some changes could not be applied — a warning icon marks the job. Open it again, check which entries failed, and apply those a second time.
- Apply failed — nothing was saved. You can retry the apply.